There’s something magical about Stained Glass Cookies that makes them a favorite in my kitchen, especially during the holidays. A few years ago, my daughter came home from school excited and asked if I could make those colorful sugar cookies that look like little stained glass windows. She’d seen them in a book and couldn’t stop talking about how beautiful and fun they looked. I wanted to create that special moment for her, so I set out to make Stained Glass Cookies myself.
At first, I wasn’t sure how to get those candy centers just right without the glaze melting into a puddle. But after some trial and error, I found a simple method to keep those sugar cookie cutouts crisp while the candy glass inside set perfectly. When I brought the cookies to the dinner table, the whole family gathered around, marveling at the bright colors shining through the windows in the cookies.
Since then, Stained Glass Cookies have become a regular treat during holiday celebrations and even as a weekend baking project. These candy glass cookies not only taste delicious but also bring everyone together. The kids love helping with the candy pieces, and we like sharing stories as the cookies bake. If you’ve been looking for a dessert that’s both fun to make and special to share, I’d love for you to try these Stained Glass Cookies with your family.
For extra inspiration, check out recipes like strawberry crunch cookies or twisted Christmas cookies – they make wonderful companions to these sugar cookie cutouts during the holidays. Also, I found a helpful stained glass window cookie tutorial that gave me confidence when I first tackled this recipe.
What You’ll Need
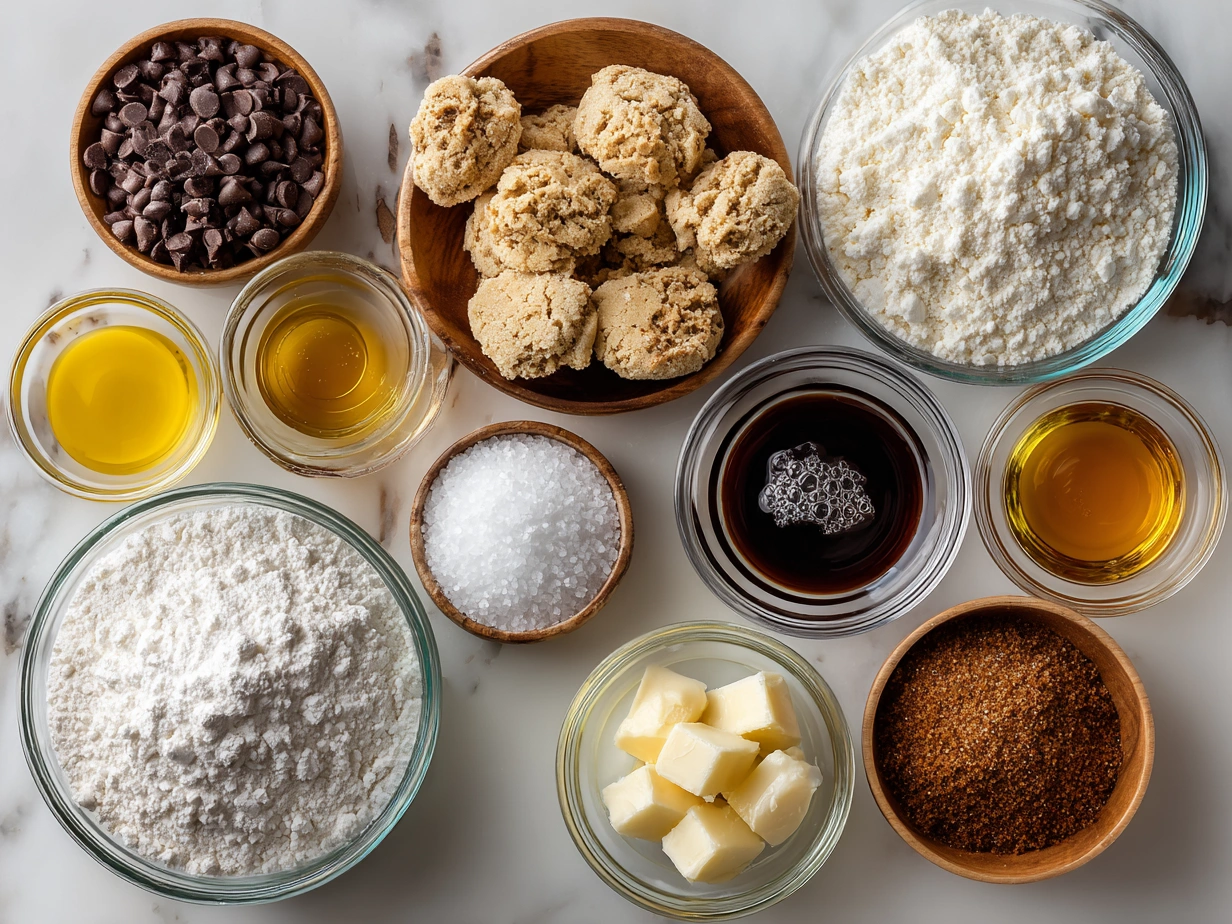
Here’s a simple list to get you started on your Stained Glass Cookies adventure. Trust me, this Stained Glass Cookies ingredient list keeps things simple without sacrificing flavor!
- 3 cups all-purpose flour – For the best Stained Glass Cookies, I recommend using a flour you trust; it helps your dough hold its shape during baking.
- 1 cup unsalted butter, softened – Using good quality butter brings a rich flavor everyone notices.
- 1 cup granulated sugar – Regular white sugar works perfectly here.
- 1 large egg – This helps bind the dough.
- 1 teaspoon vanilla extract – My family prefers the warmth vanilla brings to our Stained Glass Cookies.
- 1/2 teaspoon salt – Balances sweetness.
- 1/2 teaspoon baking powder – Gives the cookies a light texture.
- Assorted hard candies (like Jolly Ranchers), crushed – You want small pieces for that beautiful candy glass effect.
You’ll find everything for this Stained Glass Cookies at your regular grocery store, including the candy. If you need to swap out ingredients, this recipe is forgiving. For example, you can substitute almond extract for vanilla to add a different flavor twist. Or use light brown sugar instead of white sugar for a slightly deeper taste.
A quick kitchen tip: It helps to chill your dough before rolling. This makes it easier to handle and cuts cleanly into your sugar cookie cutouts. Crushing your candies just enough to fill the centers without overly big chunks is another secret that makes all the difference for achieving real candy glass cookies.
If you want to see a nostalgic version of this recipe, there’s a fun stained glass cookie recipe from the 1970s that’s worth a peek.
How to Make It
Making Stained Glass Cookies is rewarding, and with some simple steps, you can bake gorgeous cookies that bring smiles all around. This Stained Glass Cookies recipe typically takes me about an hour from start to finish.
- Mix the dough: Cream together the softened butter and sugar until light and fluffy. Add the egg and vanilla, mixing in gently. Combine the flour, salt, and baking powder in a separate bowl, then slowly add into the wet mixture. Your dough will start to come together in a soft ball.
- Chill and roll: Wrap your dough in plastic wrap and chill for 30 minutes. This step helps with rolling out evenly and cutting neat shapes.
- Preheat your oven to 350°F (175°C) and line baking sheets with parchment paper.
- Roll out the dough on a lightly floured surface to about 1/4-inch thickness. Use your favorite cookie cutters to cut out shapes. For stained glass window cookies, I usually choose simple shapes like stars or hearts.
- Create the centers: Using a smaller cutter or a knife, carefully cut out the center part of each cookie to make space for the candy glass.
- Fill the centers: Crush your hard candies finely and fill the cookie centers with the crushed candy pieces. Don’t press down too hard; just enough to fill the cavities.
- Bake: Place your cookies on the prepared sheet and bake for 10 to 12 minutes. You’ll know your Stained Glass Cookies are ready when the edges turn a light golden color and the candy centers look smooth and melted but not bubbly.
- Cool completely on wire racks so the candy glass hardens fully. Your kitchen will smell amazing while these Stained Glass Cookies bake!
Don’t worry if your decorated stained glass cookies look a little fragile when you remove them from the oven—that’s normal. Let them cool fully before handling, or they might crack. I used to mess up here by removing them too soon, and it’s a tip I always remember now.
If you want more visual ideas, this stained glass sugar cookies with Jolly Ranchers post inspired me a lot early on.
Serving Ideas
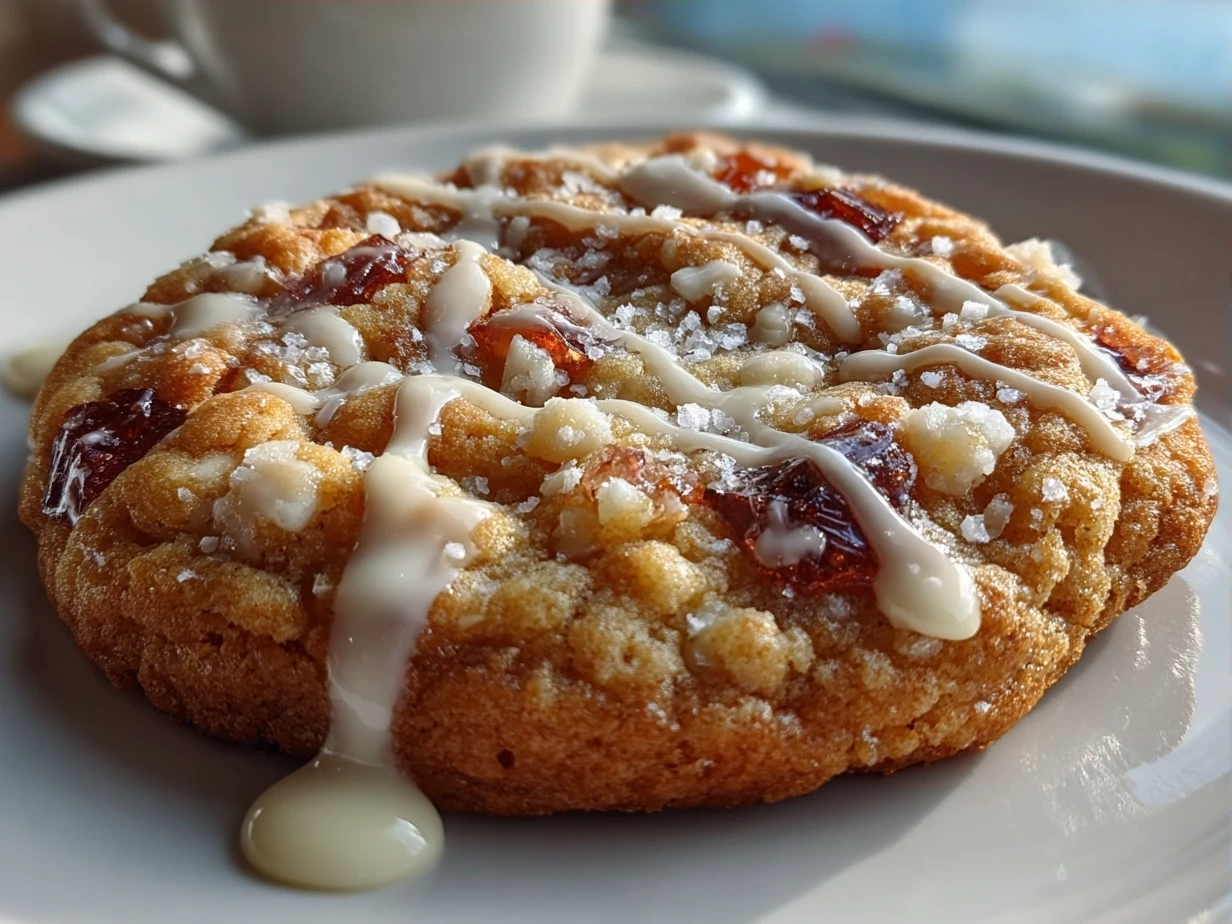
Our family loves to bring these Stained Glass Cookies out during holiday gatherings and special celebrations. Everyone reaches for seconds when this Stained Glass Cookies comes out alongside a warm cup of cocoa or tea. The vibrant candy glass windows make them perfect for Christmas dessert trays or festive gift packages for friends and neighbors.
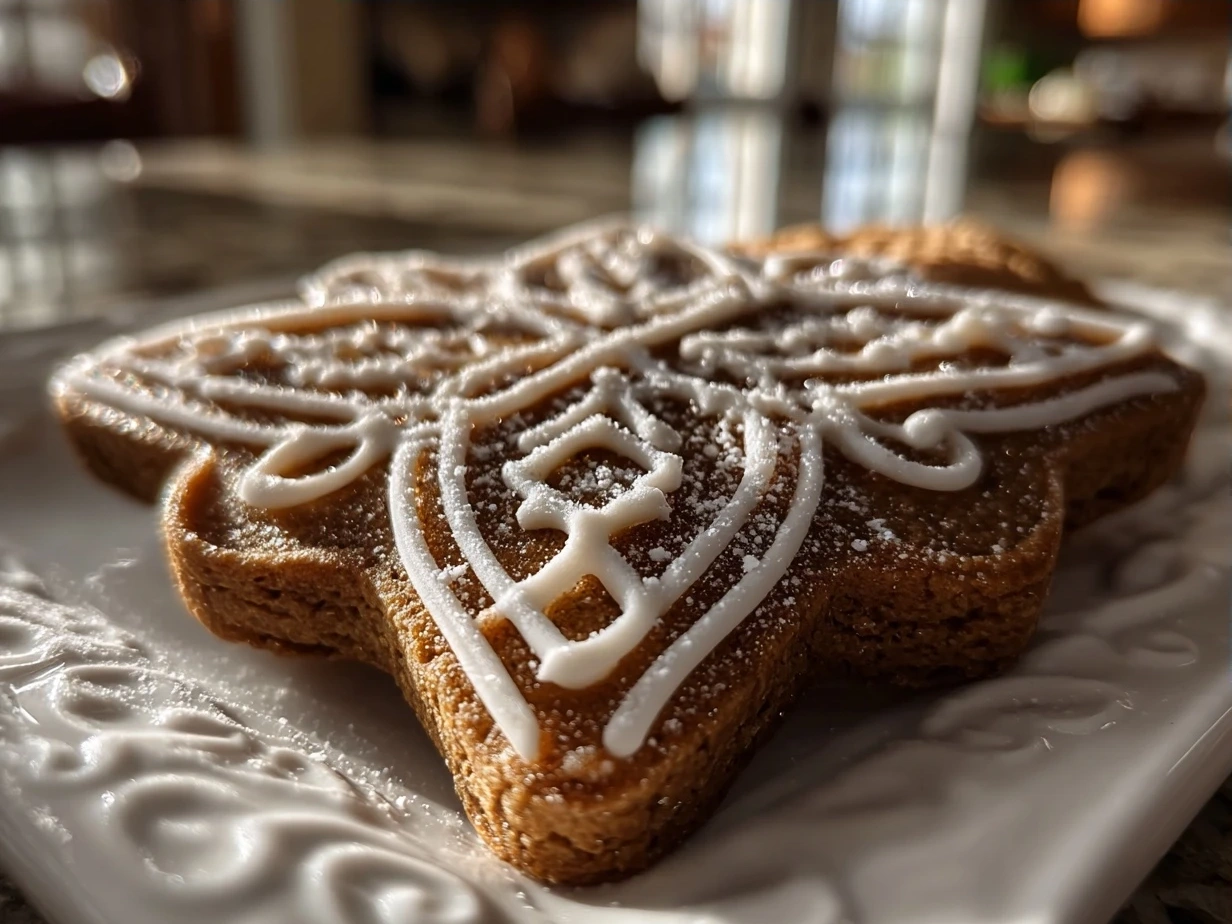
You can dress these sugar cookie cutouts up by dusting with powdered sugar for a snowy effect or presenting them on pretty plates that catch the light through the candy glass. If you have leftovers, store them in an airtight container at room temperature. They keep well for several days, and sometimes my kids like breaking up extra candy glass cookies over vanilla ice cream for a quick treat.
For a fun variation, try using colored sugar sprinkles inside instead of crushed candy. My family enjoys the added texture and sparkle. Also, I’ve experimented with peppermint candies for a minty twist during the holidays, and that always brings rave reviews.
If your family loves these, they’ll also enjoy the warm flavors of gingerbread crinkle cookies alongside the candy glass cookies for a cozy dessert spread.
Your Questions Answered
I get so many questions about Stained Glass Cookies from fellow home cooks, and I’m happy to share what’s worked for me.
Can I make this Stained Glass Cookies ahead of time?
Absolutely! You can bake the cookies and store them in an airtight container for up to a week. The candy glass holds up nicely, but be sure to keep them away from humidity.What if I don’t have hard candies like Jolly Ranchers?
Try other hard candies you like, just make sure they don’t contain fillings or coatings that won’t melt. Fruit-flavored hard candies work best for the candy glass effect.How do I store leftover Stained Glass Cookies?
Store them in a sealed container at room temperature. Avoid the fridge, as moisture can make the candy centers sticky or cloudy.My candy glass cracked after baking. What went wrong?
Most often, this happens if the cookie cools too quickly or is handled before fully set. Let your cookies cool on a wire rack completely before moving them.Can I change the shapes or sizes of my stained glass window cookies?
Yes! Larger windows fill more candy, smaller ones bake faster. Simple shapes work best for these sugar cookie cutouts.Is there a way to speed up melting the candy in the centers?
If your candy hasn’t melted evenly, you can gently press down with a spatula during baking, but be quick to avoid disturbing the dough.Any tips to keep the cookie dough from sticking to the cutters?
Lightly flour your cutters and chill your dough before cutting for clean edges on your decorated stained glass cookies.
If you want a closer look at classic and creative decorating ideas, these stained glass window cookies from Sally’s Baking add great inspiration.
The Final Word
This Stained Glass Cookies recipe has a permanent place at our table because it’s beautiful, delicious, and perfect for bringing everyone together. The way the candy light shines through the sugar cookie cutouts adds a special touch to family celebrations and even simple weekend baking days.
- Chill your dough thoroughly before rolling for neat edges.
- Crush your candies finely for smooth, even candy glass.
- Let cookies cool fully on wire racks to avoid cracks.
I’ve tried several variations, including peppermint candy centers, colored candies for birthday parties, and even citrus-flavored hard candies for a refreshing twist. My kids love the peppermint version, while my husband prefers the classic red and green candies during Christmas.
I encourage you to make this Stained Glass Cookies recipe your own. With a little practice, you’ll have a family favorite that’s both fun to bake and sure to impress guests. I hope your family enjoys these cookies as much as mine does, making memories that shine bright all season long.
If you want to try some more delightful cookie recipes, check out gingerbread crinkle cookies or twisted Christmas cookies for more sweet moments around your table. Happy baking!
Stained Glass Cookies

Delightfully festive stained glass cookies featuring colorful, translucent centers made from melted candy, perfect for holiday gatherings and celebrations.
- Prep Time: 20 minutes
- Cook Time: 12 minutes
- Total Time: 32 minutes
- Yield: 24 cookies
- Category: Dessert
- Method: Baked
- Cuisine: American
Ingredients
- 2 ⅓ cups all-purpose flour
- ½ teaspoon baking powder
- ¼ teaspoon salt
- ¾ cup unsalted butter, softened
- ¾ cup granulated sugar
- 1 large egg
- 1 teaspoon vanilla extract
- Assorted hard candies (e.g., Jolly Ranchers or Life Savers), roughly crushed
Instructions
- Preheat oven to 350°F (175°C). Line two baking sheets with parchment paper.
- In a medium bowl, whisk together flour, baking powder, and salt.
- In a large bowl, cream the softened butter and sugar until light and fluffy.
- Beat in the egg and vanilla extract until combined.
- Gradually add the dry ingredients to the wet mixture until a dough forms.
- Roll the dough out to about ⅛ inch thickness on a lightly floured surface.
- Use a large cookie cutter to cut out shapes and place them on the prepared baking sheets.
- Use smaller cutters to cut out centers from each cookie shape, making sure heads are reserved for the stained glass.
- Fill the centers with crushed hard candies, filling the cutouts evenly but not overflowing.
- Bake for 10-12 minutes or until the cookies are lightly golden and the candy centers are melted and bubbly.
- Allow cookies to cool completely on the baking sheet before carefully removing them to a wire rack.
Notes
For best results, use a variety of colorful hard candies and avoid overfilling the centers to prevent candy overflow during baking.