
One holiday season, my youngest asked if I could make Christmas Lights Cookies just like the ones we’d seen in those festive baking magazines. It was one of those moments when a simple cookie request turns into a family favorite. When I finally made these colorful Christmas Lights Cookies, the whole family gathered around the kitchen table, excited to see how the string of little “lights” would come to life in cookie form. The mix of bright colors and sweet flavors caught everyone’s attention instantly. What surprised me most was how these Christmas Lights Cookies didn’t just look cheerful—they became a highlight of our holiday celebrations.
What You’ll Need
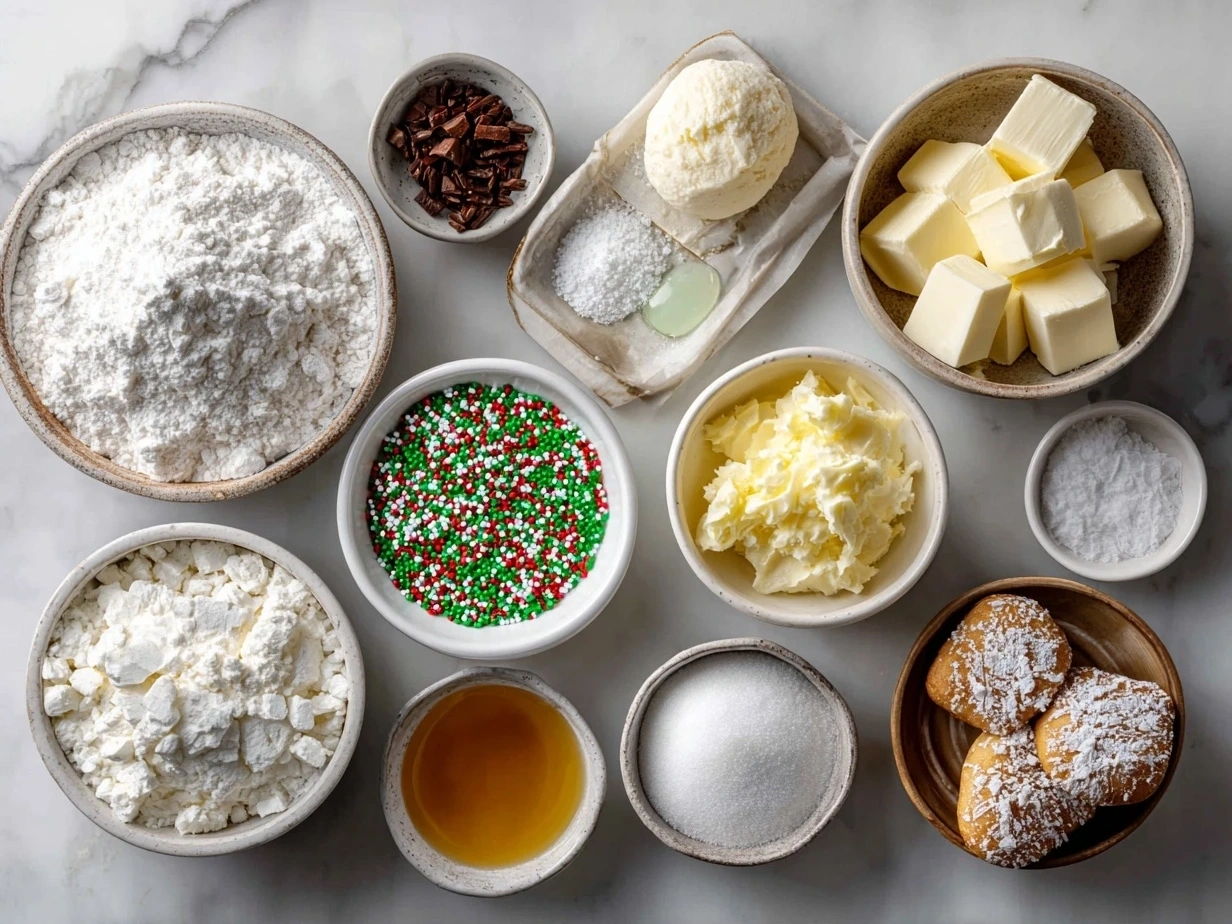
Here’s the straightforward ingredient list you’ll want for your Christmas Lights Cookies. Trust me, this Christmas Lights Cookies ingredient list keeps things simple without sacrificing flavor!
- 3 cups all-purpose flour – the base for perfect holiday sugar cookies
- 1 teaspoon baking powder – helps keep them light yet sturdy
- ½ teaspoon salt – balances the sweetness naturally
- 1 cup unsalted butter, softened – using real butter adds rich flavor to Christmas Lights Cookies
- 1 cup granulated sugar – classic sweetness without overpowering
- 1 large egg – binds everything beautifully
- 2 teaspoons pure vanilla extract – brings warmth to these colorful Christmas treats
- Assorted colored icing – for festive cookie decorating that looks like real Christmas lights
- Sprinkles or edible glitter (optional) – add sparkle just like the Christmas lights themselves
For the best Christmas Lights Cookies, I recommend using fresh butter and vanilla. These two make a noticeable difference in flavor that your family will appreciate. You’ll find everything for this Christmas Lights Cookies at your regular grocery store, including those fun sprinkles and edible glitter that make these cookies extra special. If you’re out of butter, swapping in margarine works, but the flavor won’t be quite the same. A quick tip: soften your butter at room temperature to make mixing easier and the dough smoother.
My family prefers when I use bright colors for the icing—reds, greens, yellows, and blues—that mimic classic holiday lights perfectly. When you’re ready to decorate, keep the icing a little thick so it doesn’t run off the cookies. This Christmas Lights Cookies recipe is forgiving if you need to swap granulated sugar for brown sugar—it gives a deeper flavor but watch your baking time. Using real vanilla instead of imitation is another secret trick that makes the icing and dough taste as delicious as they look.
For more ideas on coloring your icing naturally, check out King Arthur Baking’s great tips on cookie decorating with natural food colors. Also, if you’re looking for sugar cookie inspiration to keep your holiday baking fresh, try these Christmas cookies with orange juice for a zesty flavor twist that will brighten your cookie platter.
How to Make It
Making Christmas Lights Cookies is one of those kitchen wins that feels fantastic every time. Here’s how to get it right, step by step.
- Mix dry ingredients. In a large bowl, whisk together the flour, baking powder, and salt. This keeps your Christmas Lights Cookies light and easy to roll out.
- Cream butter and sugar. Using an electric mixer or sturdy whisk, beat softened butter and sugar until the mixture is light and fluffy. This step is key to that tender crumb you want in your Christmas Lights Cookies.
- Add egg and vanilla. Beat these into your butter mixture, making sure everything is combined evenly for that rich flavor in each cookie.
- Combine wet and dry. Slowly mix the dry ingredients into the wet. The dough will come together but can feel slightly sticky—that’s okay for Christmas Lights Cookies.
- Chill the dough. Wrap your dough in plastic and refrigerate for at least an hour. This helps the Christmas Lights Cookies keep their shapes while baking, making decorating easier.
- Preheat oven to 350°F (175°C). While the dough chills, preheat your oven so it’s ready for baking perfect Christmas Lights Cookies.
- Roll out and cut. On a lightly floured surface, roll out dough to about ¼-inch thickness. Use a cookie cutter shaped like light bulbs or small circles to create the “lights” for decorating.
- Bake. Place cookies on a baking sheet lined with parchment paper. Bake for 8-10 minutes or until edges just start to turn golden. You’ll know your Christmas Lights Cookies is ready when it’s firm enough to move but still soft around the edges.
- Cool completely. Let cookies cool on the baking sheet for a few minutes before transferring to a wire rack. Cool cookies are easier to decorate with icing for Christmas cookies.
- Decorate. Use your colored icing to pipe on strings connecting the lights, then add contrasting dots or lines on each cookie to look like bulbs. Sprinkles or edible glitter add a special sparkle that brings these colorful Christmas treats to life.
This Christmas Lights Cookies typically takes me about two hours from start to finish if you include chilling and decorating time. Your kitchen will smell amazing while this Christmas Lights Cookies cooks. One thing I learned is to never rush the chilling step—it really helps keep the cookie shapes perfect and prevents spreading.
Don’t worry if your Christmas Lights Cookies looks a little plain before decorating; the icing is what brings them to life. And if your icing feels too runny, add a bit more powdered sugar until it’s right for piping. While your Christmas Lights Cookies is cooling, you’ll have time to start cleaning up or set out some holiday music to get everyone in the spirit.
If you want more inspiration for holiday sugar cookies with bright colors and fun shapes, you should see these Christmas lights cookies with edible glitter that add a sparkling holiday touch. You might also want to explore a simple sugar cookie recipe with mini M&M’s for the holiday season—it’s another colorful Christmas treats idea your family could enjoy.
Serving Ideas
When Christmas Lights Cookies come out of the oven and are decorated, my family can’t resist digging in right away. These colorful Christmas treats bring smiles every time. We usually serve them alongside hot cocoa or spiced apple cider, which complements the sweet, buttery flavor perfectly.
This Christmas Lights Cookies is perfect for holiday parties, school events, or cozy family evenings. I’ve even wrapped batches in festive tins as gifts, which everyone loves. Presentation is key here—lining a platter with fresh pine sprigs or Christmas napkins makes the display extra festive.
Leftovers, if there are any, keep well in an airtight container for days, and they’re just as tasty the next morning with your coffee. Warm them a little to get that soft texture back. We’ve also tried adding chopped nuts to the dough for a bit of crunch or experimenting with different icing flavors like peppermint or almond, which add nice variety.
Everyone reaches for seconds when this Christmas Lights Cookies appears at our holiday table. The cheerful colors and simple festive cookie decorating make it fun for kids and adults alike. If your family loves these, check out other Christmas cookie recipes that mix classic and unexpected flavors, like the twisted Christmas cookies that add a twist on tradition or these Christmas cranberry orange cookies with a citrus punch.
Your Questions Answered
Can I make this Christmas Lights Cookies ahead of time?
Absolutely! You can prepare the dough and chill it for up to 24 hours before baking. I sometimes bake the cookies a day early and decorate the next day. It keeps them fresh and the decorating less rushed.
What if I don’t have colored icing for Christmas Lights Cookies?
Simple white icing works great, too. You can add crushed candy canes or colored sprinkles for a festive touch. I like to keep some store-bought icing handy for quick decorating when time is tight.
How do I store leftover Christmas Lights Cookies?
Keep them in an airtight container at room temperature. They’ll stay soft and flavorful for several days. If decorated with icing, let it dry completely first to avoid sticking.
Can I freeze Christmas Lights Cookies?
Yes! Freeze baked, undecorated cookies in a single layer on a tray, then transfer to a freezer bag. Thaw and decorate when ready—perfect for holiday planning.
Is this recipe good for kids to help with festive cookie decorating?
Definitely. The simple shapes and colorful icing make Christmas Lights Cookies a fun activity for kids. Just be ready for a bit of mess and a lot of smiles!
Can I use natural food coloring for icing?
Yes, natural colors work well, though colors may be softer. I recommend checking resources like King Arthur Baking’s blog on cookie decorating with natural food colors for tips.
What makes this Christmas Lights Cookies different from other holiday sugar cookies?
The decoration style mimics classic string lights, which feels unique and cheerful. The dough’s texture is balanced between sturdy and tender, allowing for fun festive cookie decorating without losing that soft bite.
If you’re interested, check out more Christmas cookie ideas on MomsGate. This Christmas Lights Cookies reminds me of our favorite twisted Christmas cookies recipe, and the Christmas cookies with orange juice bring a citrus brightness that’s a nice change.
The Final Word
 Christmas Lights Cookies have become a staple in our holiday baking lineup for many reasons. They’re fun to make, easy to decorate, and full of nostalgic charm that feels just right for the season. My family’s favorite versions include the classic bright icing, a peppermint-flavored twist, and an almond-vanilla batch that adds a subtle depth.
My Christmas Lights Cookies Tips:
- Take your time chilling the dough for crisp, well-shaped cookies.
- Use fresh real butter and vanilla for the best flavor.
- Keep your icing thick enough to pipe but still smooth.
These little cookies have earned their spot not only because they taste good but because they get everyone involved—whether it’s kids painting on icing or adults admiring the colorful Christmas treats as they enjoy a warm drink. My husband loves the peppermint version, while the kids are wild about the classic colored icing.
You can add your own twist, too—try simple sugar cookie recipes with mini M&M’s, or sprinkle edible glitter on top for a glowing effect. Your family will love it, just like mine does.
If you want to add more holiday cookie variety, here are some ideas: twisted Christmas cookies are a favorite for their unique shapes, Christmas cranberry orange cookies give a fruity surprise, and these Christmas cookies with orange juice punch up the bright flavors.
I hope your family finds as much joy in making and sharing Christmas Lights Cookies as we do every year. They’re a perfect holiday sugar cookies pick that brings everyone together, makes decorating fun, and tastes like a festive celebration on every bite. Your next family meal is about to get a lot sweeter!
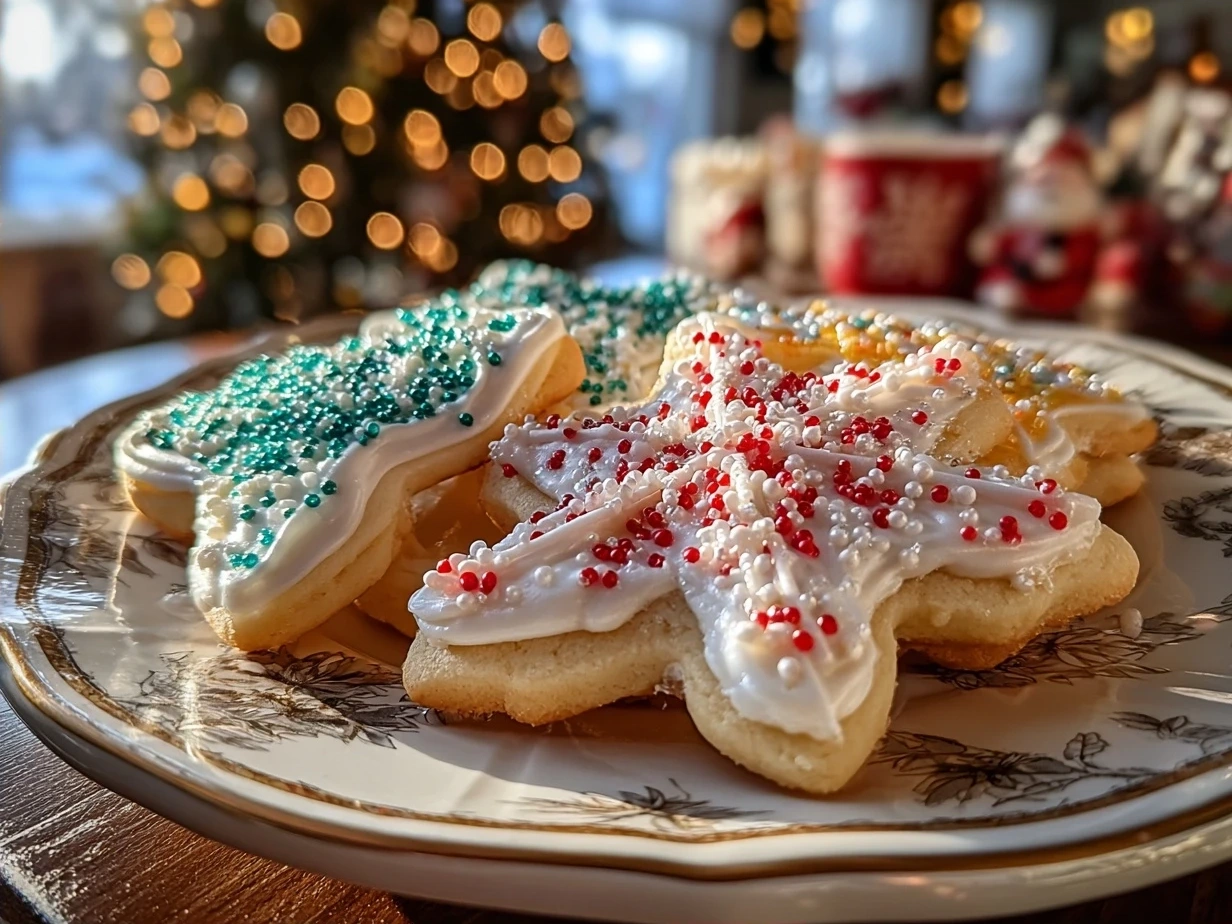
Christmas Lights Cookies

Festive Christmas Lights Cookies are colorful sugar cookies decorated like holiday light bulbs, perfect for celebrating the season with sweet, buttery goodness.
- Prep Time: 15 minutes
- Cook Time: 10 minutes
- Total Time: 25 minutes
- Yield: 24 cookies
- Category: Dessert
- Method: Baked
- Cuisine: American
Ingredients
- 2 ¾ cups all-purpose flour
- 1 teaspoon baking soda
- ½ teaspoon baking powder
- 1 cup unsalted butter, softened
- 1 ½ cups white sugar
- 1 egg
- 1 teaspoon vanilla extract
- ½ teaspoon almond extract (optional)
- 3 tablespoons milk
- Assorted colored icing or frosting
- Black icing for outlining
- Sprinkles and edible glitter for decoration (optional)
Instructions
- Preheat oven to 375°F (190°C). In a small bowl, combine flour, baking soda, and baking powder; set aside.
- In a large bowl, cream together the butter and sugar until smooth and fluffy.
- Beat in egg, vanilla extract, and almond extract if using.
- Gradually blend in the dry ingredients, then add milk to soften the dough.
- Roll out dough on a lightly floured surface to ¼ inch thickness.
- Cut out bulb shapes with a Christmas light cookie cutter or a small oval and a rectangle for the base.
- Place cookies 1 inch apart on ungreased cookie sheets.
- Bake for 8 to 10 minutes or until edges are golden.
- Allow cookies to cool completely on wire racks.
- Decorate each cookie with colored icing to resemble Christmas lights. Use black icing to outline the bulb base and add string details.
- Optional: Add sprinkles or edible glitter for extra sparkle.
Notes
For more vibrant colors, use gel-based food coloring in your icing. These cookies keep well in an airtight container for up to a week.