It all started when my daughter asked for something special for family dinner—a Focaccia Decorative Loaf. She had seen beautiful bread designs online and wanted to try something new. I had made focaccia before, but creating a decorative focaccia loaf that looked as good as it tasted was a whole different story. I remember the first time I shaped and patterned that olive oil focaccia with fresh herbs and little dimples—my kids gathered around the kitchen island, fascinated by the process and eager to help. When it came fresh and golden from the oven, their eyes lit up. It really brought everyone together around the table.
That Focaccia Decorative Loaf stayed in our meal rotation because it combines art and family time, both in making and eating it. It’s not just bread—it’s a conversation starter, a shared experience, a centerpiece that invites everyone to pull up a seat. Plus, its crispy, golden crust and soft, herb-infused crumb satisfy even the pickiest eaters.
It wasn’t easy at first to get the dough just right or to create decorative focaccia bread patterns that looked intentional rather than accidental. I learned that the key was patience with the rising and a gentle hand when pressing the dimples. Once I nailed the balance between olive oil soak and herb topping layers, this herb focaccia loaf became a staple for both weeknight dinners and special gatherings.
If you’re looking for a bread recipe that blends simple ingredients with gourmet bread designs, this Focaccia Decorative Loaf is a winner. Whether you’re new to baking or expanding your bread repertoire, I encourage you to try making a loaf that’s as beautiful as it is delicious. This is one way to bring your family together over something homemade and memorable.
What you’ll see here isn’t just about the steps, but about how this loaf draws people into the kitchen and around the table—with warm slices, fresh herbs, and a touch of creativity. For more inspiration on breads that bring families joy, you might also love this raspberry swirl brioche loaf or try surprising everyone with a hidden heart chocolate loaf cake. And if you want a fun twist, jam donut focaccia baked delight is a treat that changes everything about what bread can be.
Ready to dive into the warm, herby world of decorative focaccia bread? Let’s get going!
What You’ll Need
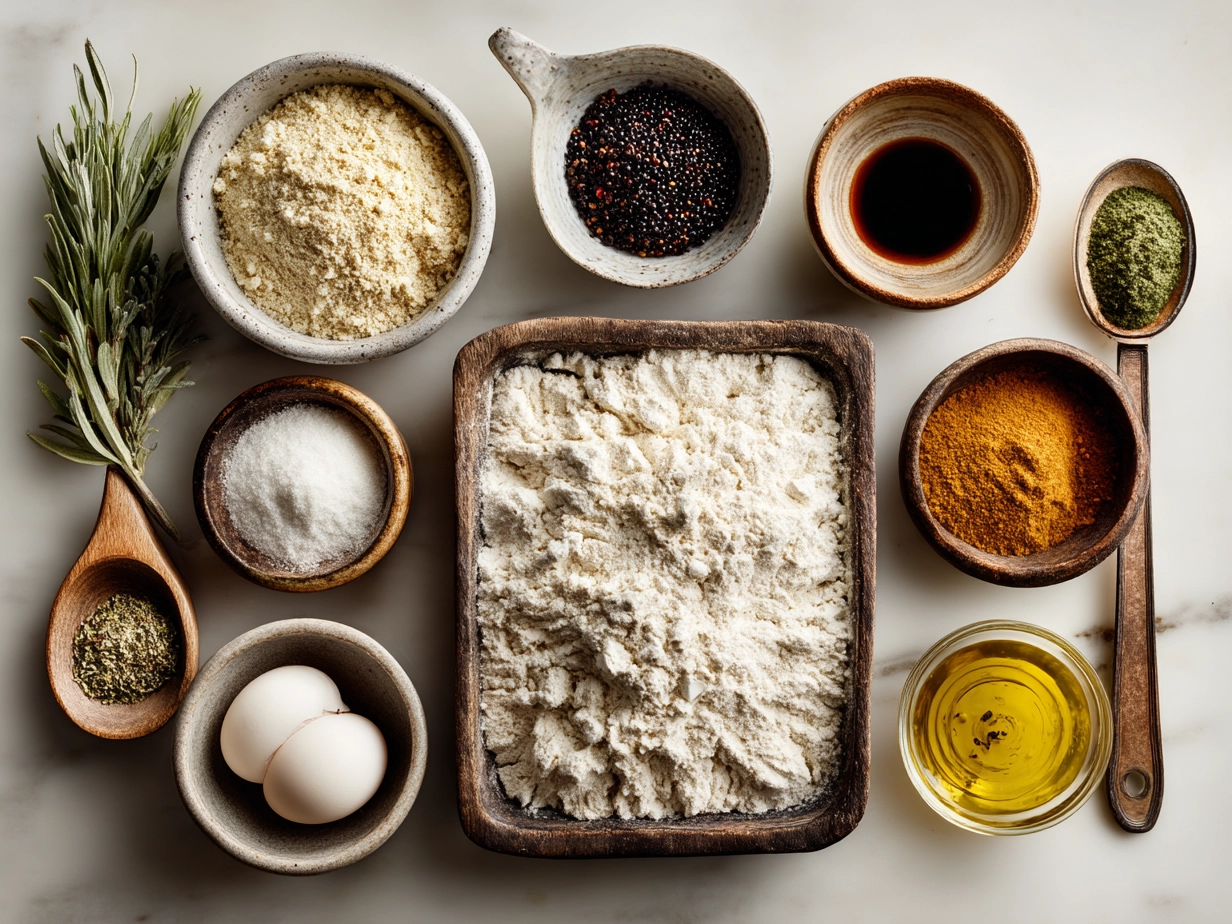
For a successful Focaccia Decorative Loaf, these ingredients keep things simple but flavorful:
- 3 ½ cups all-purpose flour (for best results, choose a high-quality, unbleached flour)
- 1 packet (2 ¼ tsp) active dry yeast
- 1 ¼ cups warm water (around 110°F)
- 1 teaspoon sugar (helps activate the yeast for a light rise)
- 1 teaspoon salt
- ½ cup good quality extra virgin olive oil, plus extra for drizzling
- Fresh herbs: rosemary, thyme, and sage (my family loves rosemary in this herb focaccia loaf)
- Coarse sea salt, for sprinkling on top
- Optional: olives or sun-dried tomatoes for topping
You’ll find everything for this Focaccia Decorative Loaf at your regular grocery store—no specialty shops needed. The yeast is usually in the baking aisle, and fresh herbs are often near the veggies.
Here’s a Focaccia Decorative Loaf secret that makes all the difference: use lots of good olive oil. It keeps the loaf moist and golden, and brings out the flavor of those herbs and the bread itself.
If you need to swap, whole wheat pastry flour works well here, though expect a slightly denser crumb. For a vegan version, check a recipe like Vegan Focaccia Bread from The Hidden Veggies, which uses plant-based options without losing flavor.
Preparing herbs ahead saves time—strip leaves from stems the night before for easy pressing into the dough. My family prefers when I use fresh rosemary in our loaf; it’s fragrant and really brightens the olive oil focaccia.
Trust me, this Focaccia Decorative Loaf ingredient list keeps things simple without sacrificing flavor!
How to Make It
Making this Focaccia Decorative Loaf is about enjoying the process as much as the result. Here’s a friendly, step-by-step guide to get you through:
- Activate your yeast by combining warm water, sugar, and yeast. Let it sit for 5 to 10 minutes until foamy. This tells you the yeast is alive and ready to help your loaf rise.
- Mix the dry ingredients (flour and salt) in a large bowl. Add the yeast mixture and ½ cup olive oil. Stir with a wooden spoon or dough hook attachment until it comes together.
- Knead the dough on a floured surface for about 8 to 10 minutes, until smooth and elastic. You’ll know your Focaccia Decorative Loaf dough is ready when it springs back gently when poked.
- First rise: Place the dough in a lightly oiled bowl, cover, and let it rest until doubled, usually an hour or so. This slow rise is what gives your herb focaccia loaf a great crumb.
- Transfer to a baking pan (I use a parchment-lined 9×13 inch pan), then stretch and press the dough out evenly to fill the space. If it resists, let it rest 10 more minutes—it will relax and stretch more easily.
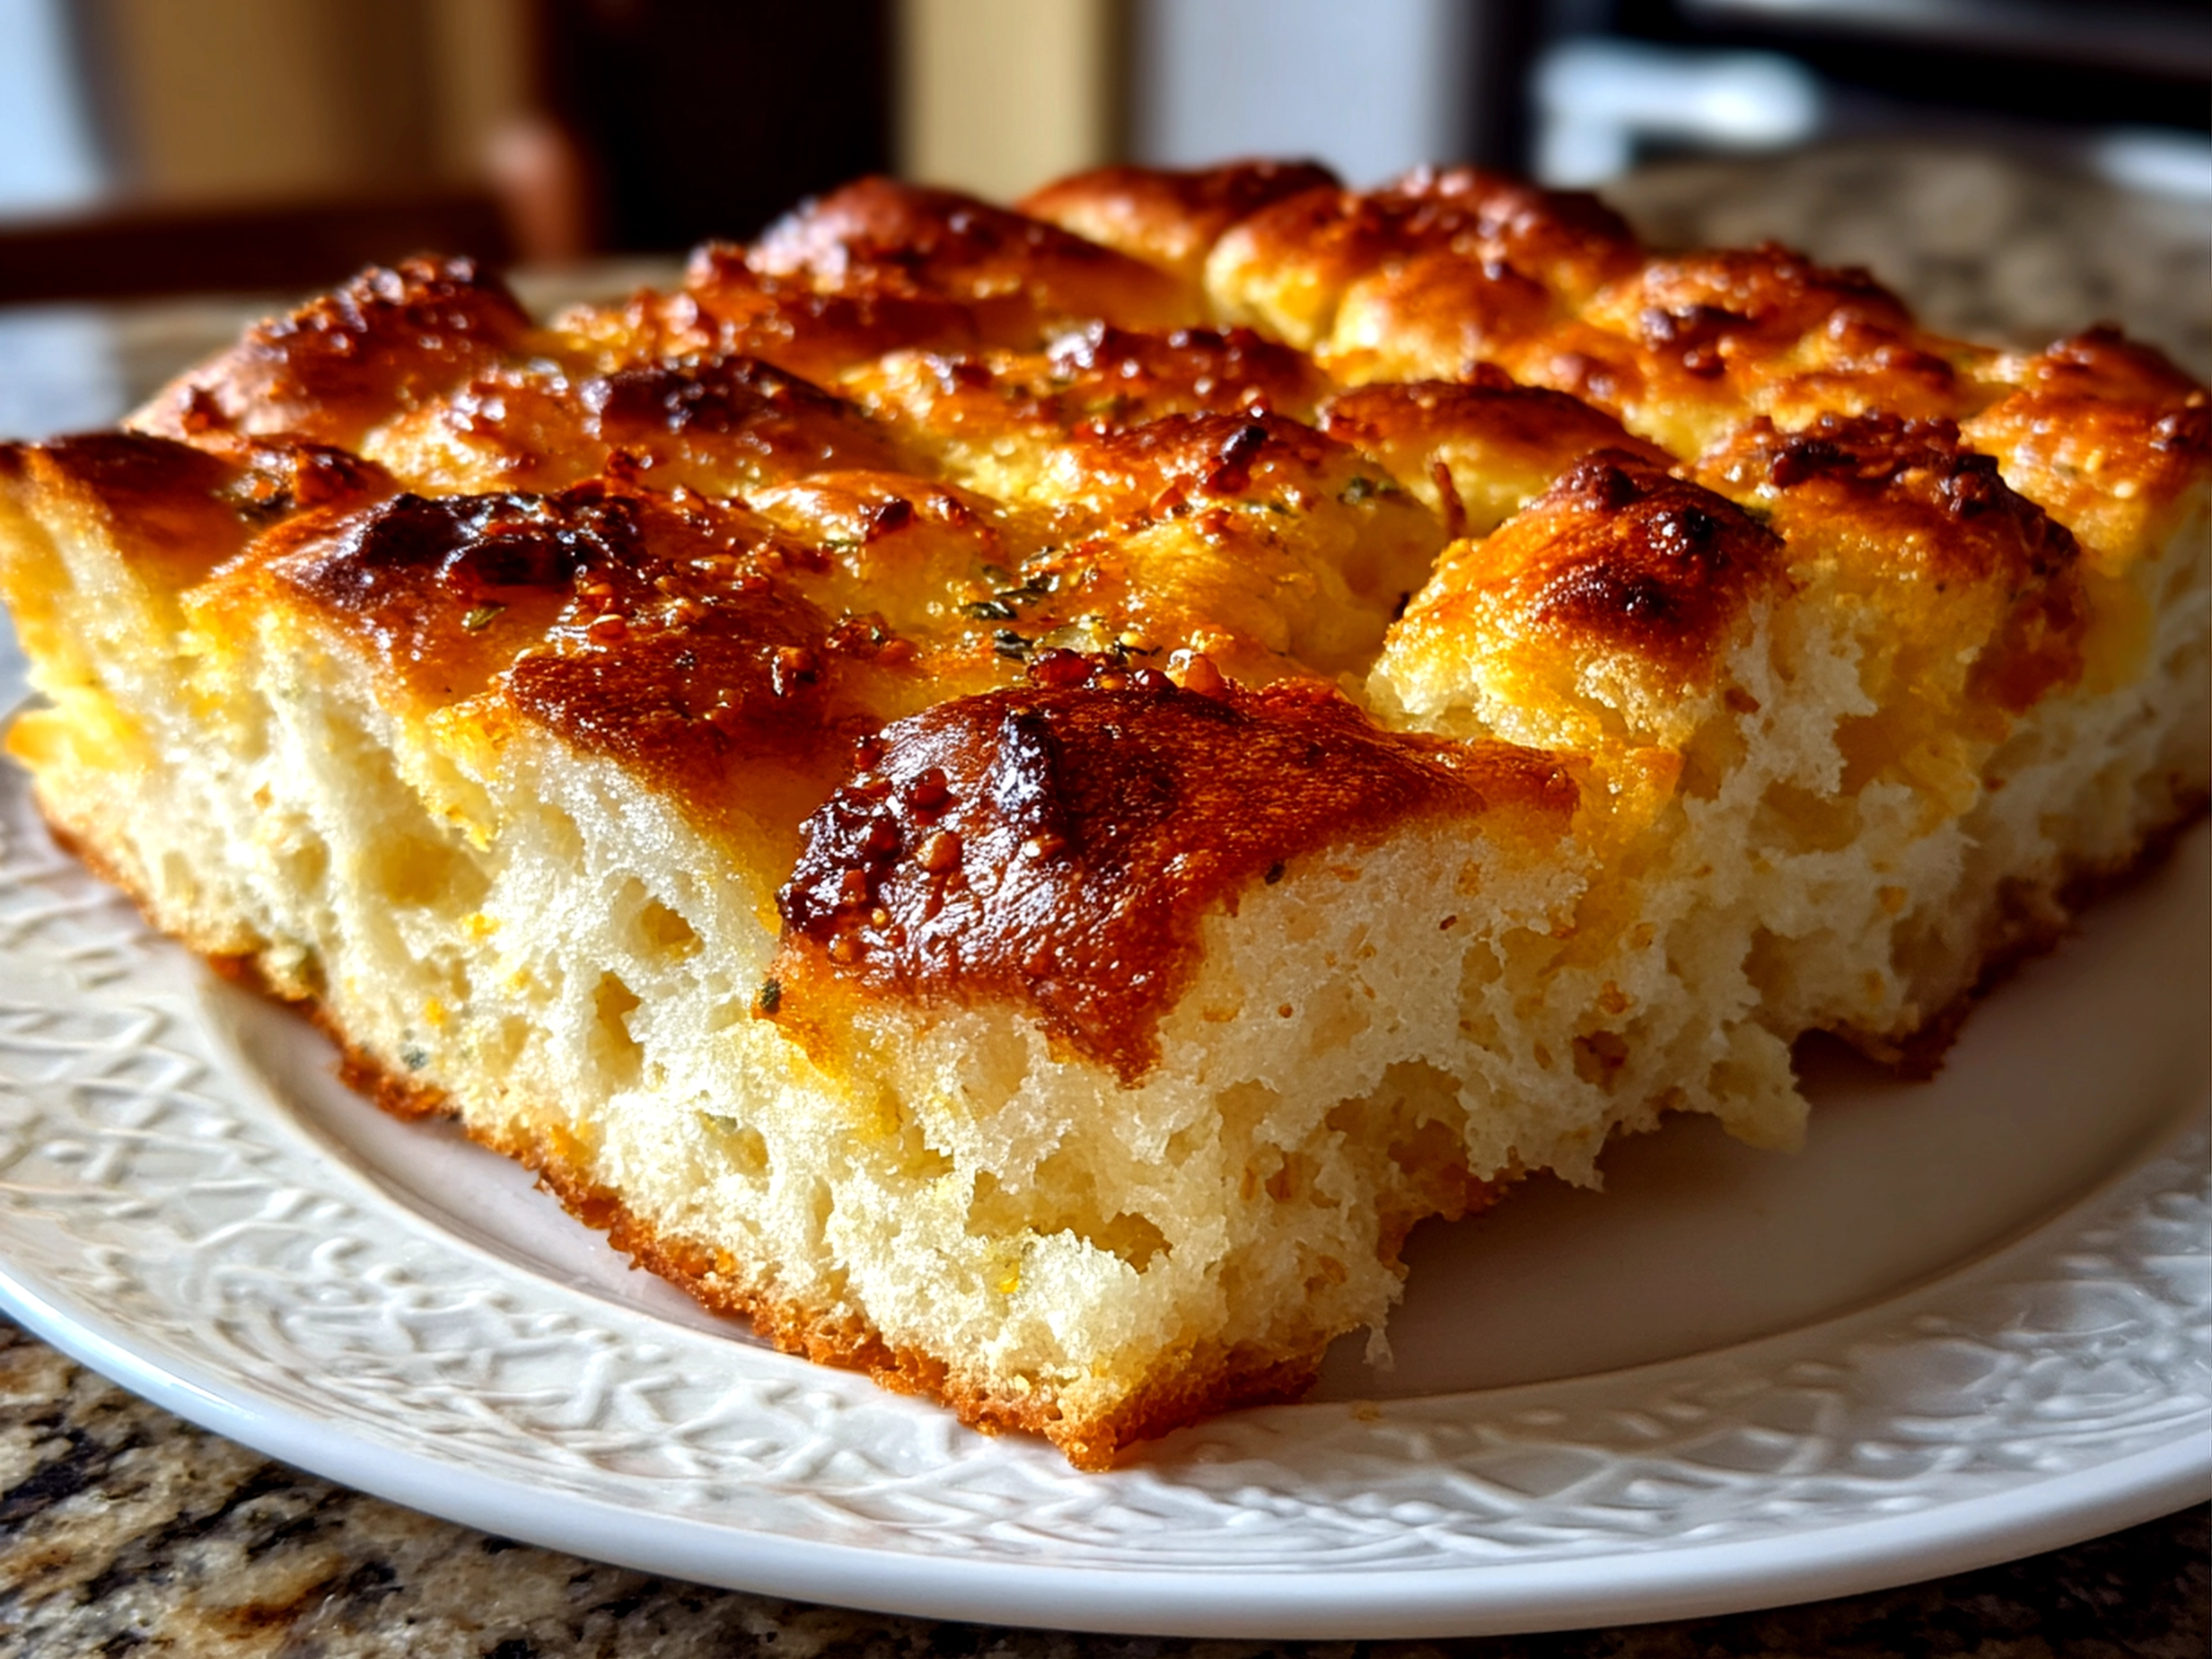
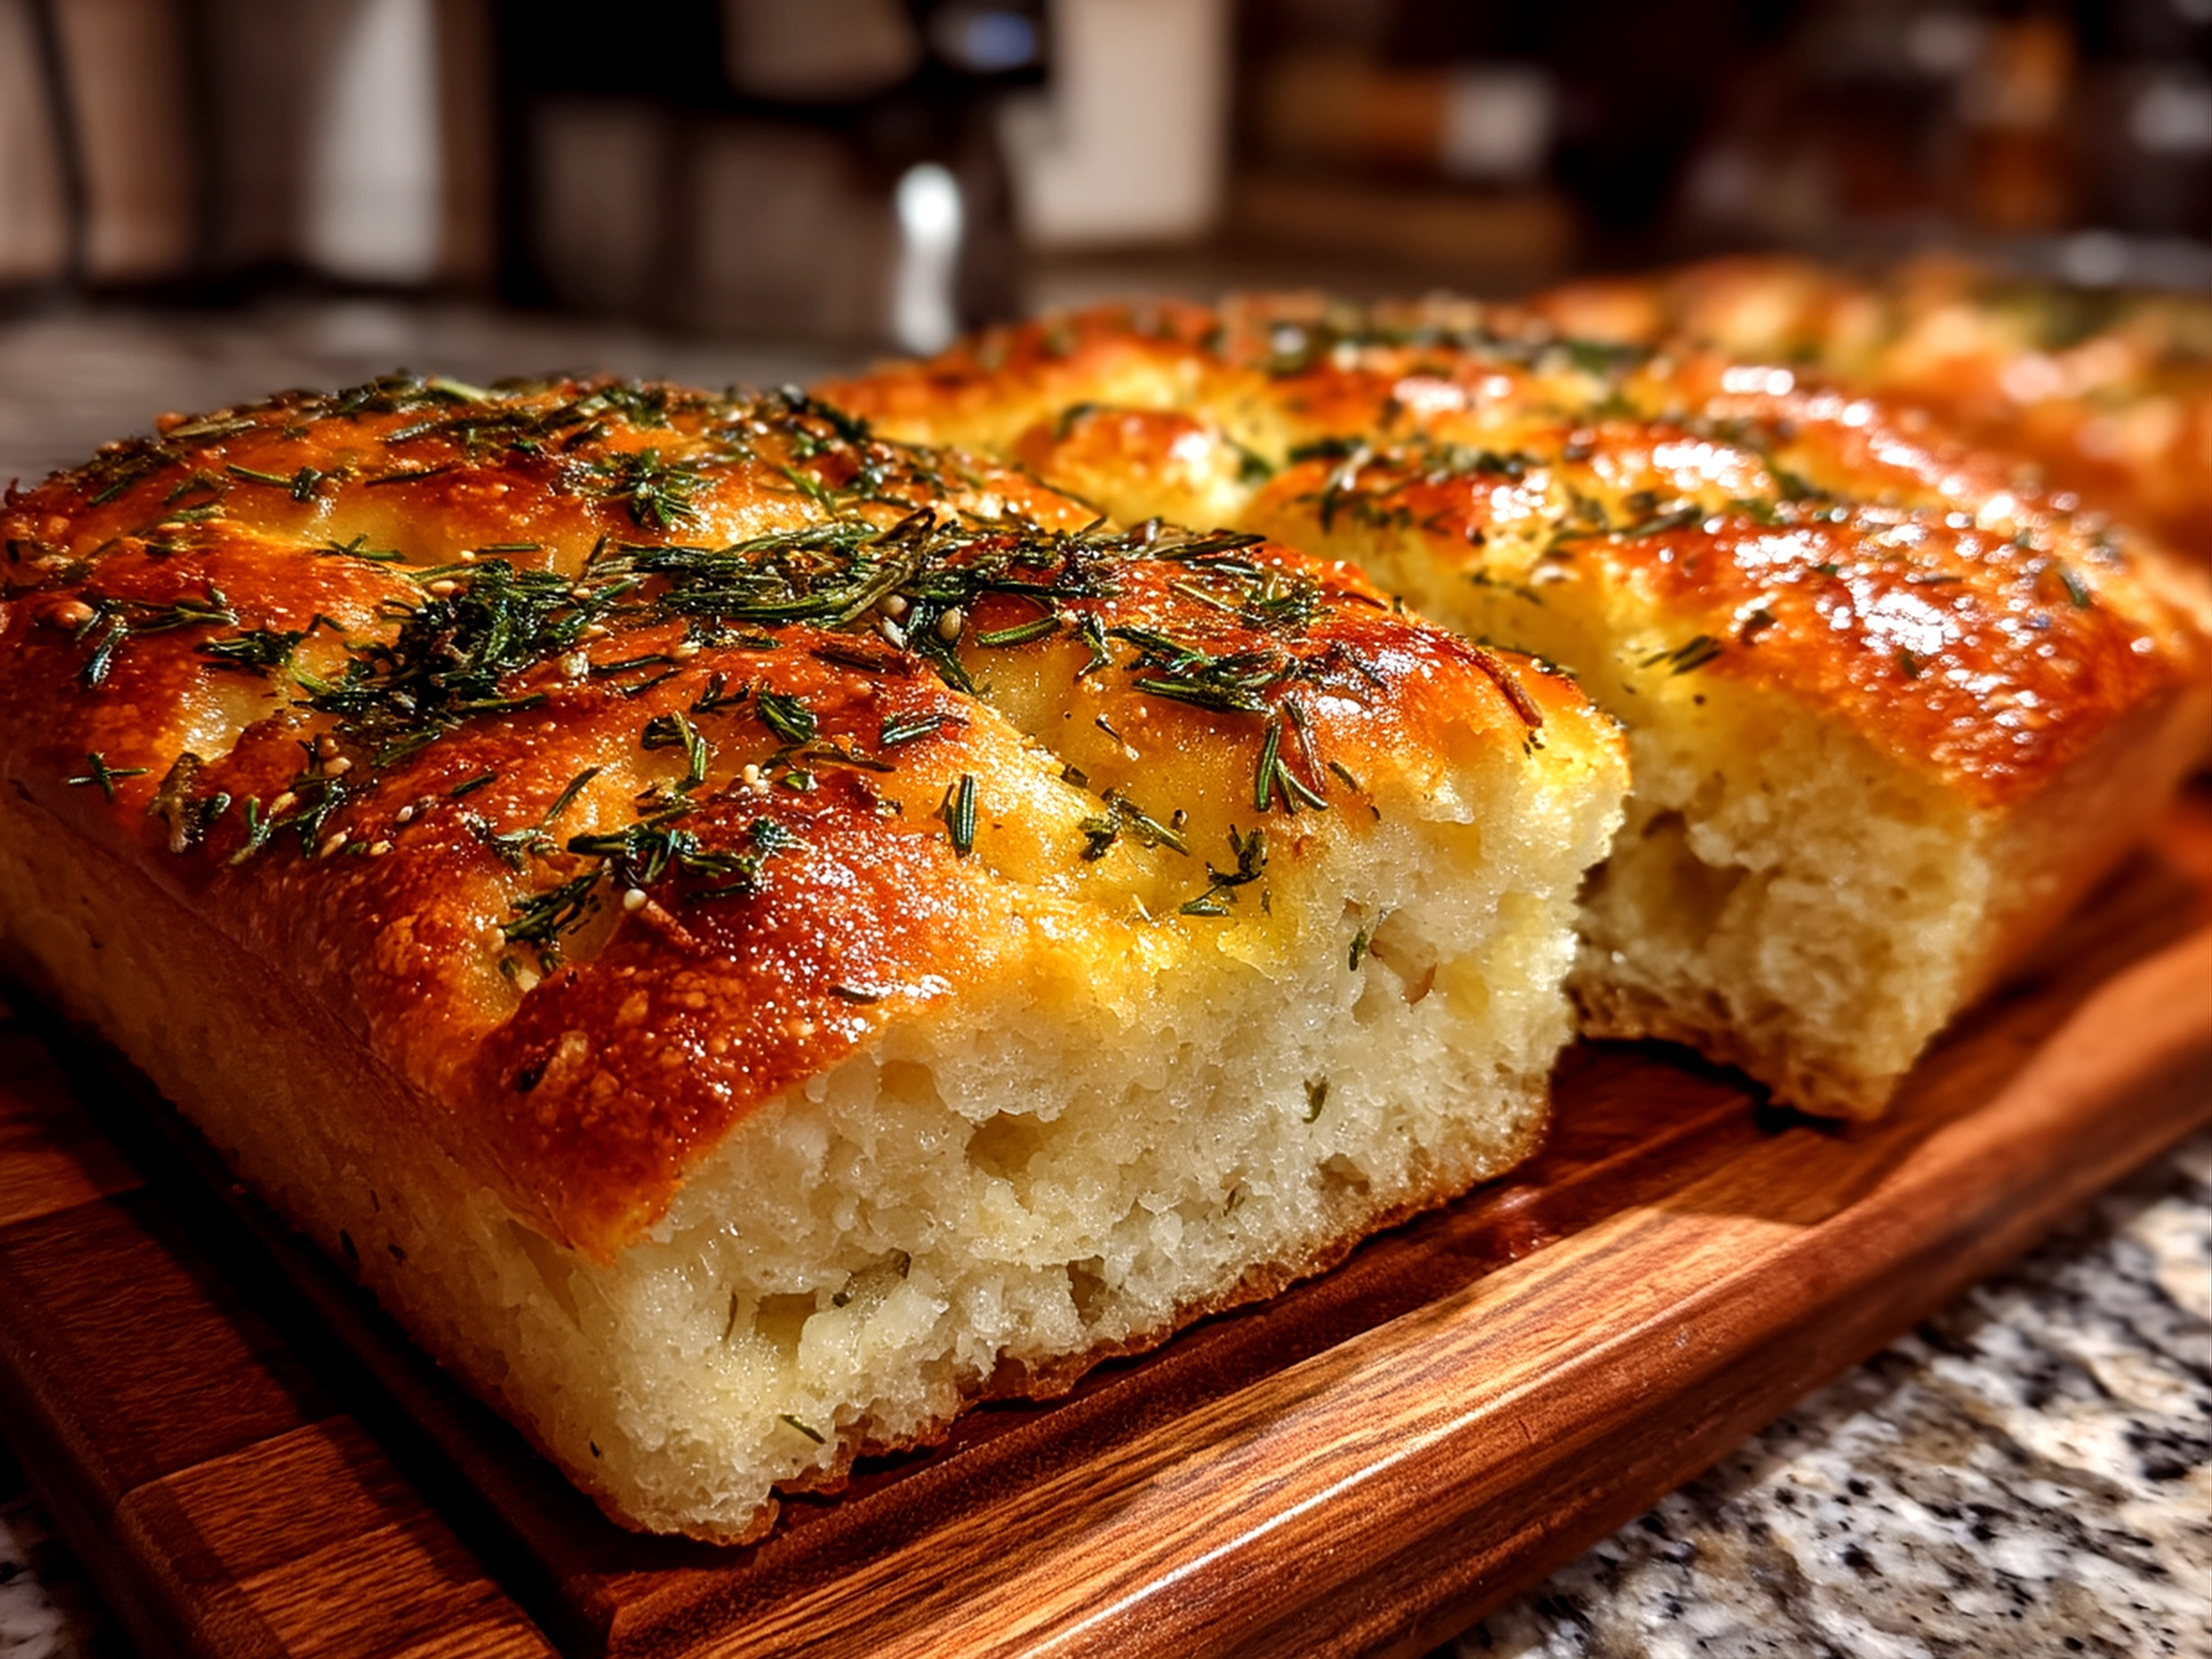
- Create the decorative focaccia bread patterns: Use your fingertips to make dimples across the top of the dough. Then press fresh herbs gently into those dimples. Drizzle the entire surface with more olive oil and sprinkle with coarse salt.
- Second rise: Let the shaped and decorated dough rest for 20 to 30 minutes. This helps the dough puff slightly, making your gourmet bread designs stand out beautifully after baking.
- Bake at 425°F for about 20 to 25 minutes, until golden brown. Your kitchen will smell amazing during this time—like a homemade Italian bakery! You’ll know your Focaccia Decorative Loaf is ready when it’s crisp on top and sounds hollow when tapped.
- Cool slightly before slicing so the bread sets perfectly. Serve warm or at room temperature.
Here’s where I used to mess up my Focaccia Decorative Loaf—rushing the rising times. Now I always remember to give the dough its needed rest; the difference is incredible in texture.
Don’t worry if your Focaccia Decorative Loaf looks a bit rustic or uneven—that’s part of its charm. Plus, there’s plenty of inspiration on decorative focaccia bread patterns right online like this guide on How To Make Focaccia Bread Art With Vegetables + Herbs – Sugar Geek Show.
While your Focaccia Decorative Loaf is cooking, you’ll have time to set the table, pour some drinks, or chat with family about the day.
Serving Ideas
My family loves this Focaccia Decorative Loaf warm, drizzled lightly with olive oil. It pairs perfectly with soups, salads, or a beautiful spread of cheeses and olives. The crispy crust and flavorful herb topping make it a meal centerpiece rather than just a side.
It’s a go-to for family dinners, holiday meals, or even casual gatherings with friends. I’ve served it alongside spaghetti for a cozy weeknight and also at celebrations where it looks stunning among other dishes.
If you want to take presentation up a notch, try cutting the loaf into shapes following the focaccia bread patterns before baking. It makes for a fun visual surprise!
Leftovers reheat well—wrap them in foil and warm in the oven to bring back the crispy texture. Sometimes I toast slices for sandwiches the next day, which the kids enjoy.
Variations we’ve loved include adding black olives for an olive oil focaccia twist or sprinkling garlic along with the herbs for a punchier flavour. For a fun bread dessert in the family, check out the jam donut focaccia baked delight recipe we tried recently.
Whenever this Focaccia Decorative Loaf comes to the table, guests always ask for seconds. It’s one of those meals that makes everyone smile and want to gather around again.
Your Questions Answered
Can I make this Focaccia Decorative Loaf ahead of time?
Absolutely! You can prepare the dough the night before and refrigerate it after the first rise. Bring it to room temperature before shaping. This slow fermentation can even improve the flavour.
What if I don’t have fresh herbs for my focaccia?
Dried herbs can work, but fresh ones make a big difference in aroma and texture. If fresh herbs are out, try herb blends or rosemary flakes. You can also keep a frozen herb stash handy to press into the dough.
Is this recipe gluten-free?
This Focaccia Decorative Loaf is made with all-purpose wheat flour, so it’s not gluten-free. However, there are gluten-free focaccia recipes online like the ones at The Hidden Veggies with great tips for substitutions.
How do I store leftover Focaccia Decorative Loaf?
Wrap it tightly in plastic wrap or foil and keep at room temperature for up to two days. For longer storage, freeze slices in a sealed bag—they thaw quickly at room temperature or in the toaster.
Can I add toppings like olives or cheese?
Yes, toppings like olives, cherry tomatoes, or a sprinkle of Parmesan work beautifully. Just press them gently into the dough before the second rise. I like the balance of olives with herbs in my olive oil focaccia loaf.
What’s the best pan for baking decorative focaccia bread?
A rimmed baking sheet or a 9×13 inch pan works well. Using parchment paper makes cleanup easier and helps with even cooking.
Any tips for making focaccia bread patterns look professional?
Use your fingertips for uniformly sized dimples. Arrange fresh herbs in simple shapes or patterns. For inspiration, check out Homemade Cardinal Herbed Focaccia Bread Recipe on Facebook group creative gardening; it showcases some beautiful, simple designs.
If your family loves this Focaccia Decorative Loaf, they’ll also enjoy the raspberry swirl brioche loaf or the hidden heart chocolate loaf cake for sweet moments after dinner.
The Final Word
This Focaccia Decorative Loaf has earned its place in my family recipe collection because it brings people together in every step—from mixing dough to breaking bread at the table. It combines ease and excitement in a way that fits busy home cooks and cooks who want a little creative flair.
My Focaccia Decorative Loaf Tips:
- Don’t rush the rising—patience makes the best juicy crumb.
- Use plenty of olive oil to keep the crust tender and flavorful.
- Press herbs gently so they release their fragrance without bruising.
Variations that won my family over include adding olives for savory lovers, garlic and rosemary for a punchier herb focaccia loaf, and a sweeter take with sun-dried tomatoes. My kids prefer the classic olive oil focaccia, while my husband loves experimenting with different herb mixes and edible flowers!
I encourage you to make this Focaccia Decorative Loaf your own. Try different herb combos, toppings, and patterns until you find the version your family smiles at most.
I hope your kitchen fills with the same warm smells and happy chatter as mine when this loaf comes out fresh and golden. Here’s to many delicious and memorable meals with your loved ones and this beautiful, welcoming bread.
For even more bread inspiration, check out How To Make Focaccia Bread Art With Vegetables + Herbs – Sugar Geek Show, Vegan Focaccia Bread – Bread Art – The Hidden Veggies, and the Homemade Cardinal Herbed Focaccia Bread Recipe on Facebook. You’ll find plenty of ideas for decorative focaccia bread and gourmet bread designs you can make in your own kitchen.
Happy baking!
Focaccia Decorative Loaf
This decorative focaccia loaf features a golden, crispy crust adorned with fresh herbs and olives, offering a flavorful and visually stunning Italian bread perfect for any meal.
- Prep Time: 15 minutes
- Cook Time: 25 minutes
- Total Time: 1 hour 40 minutes
- Yield: 8 servings
- Category: Dinner
- Method: Baked
- Cuisine: Italian
Ingredients
- 3 ½ cups all-purpose flour
- 1 ½ teaspoons salt
- 1 teaspoon sugar
- 1 packet (2 ¼ teaspoons) active dry yeast
- 1 ¼ cups warm water (110°F)
- ⅓ cup extra virgin olive oil, plus more for drizzling
- Fresh rosemary sprigs
- Fresh thyme sprigs
- Kalamata olives, pitted and halved
- Sea salt flakes
Instructions
- In a large bowl, whisk together the flour, salt, and sugar.
- In a small bowl, dissolve the yeast in warm water and let it sit for 5 minutes until frothy.
- Add the yeast mixture and ⅓ cup olive oil to the dry ingredients and mix until a sticky dough forms.
- Turn the dough onto a floured surface and knead for about 8 minutes until smooth and elastic.
- Place the dough in a lightly oiled bowl, cover with a damp cloth, and let it rise in a warm place for about 1 hour or until doubled in size.
- Preheat the oven to 425°F (220°C). Lightly oil a baking sheet.
- Transfer the dough onto the prepared sheet and gently stretch it to form a rectangle about ½ inch thick.
- Use your fingers to dimple the surface of the dough deeply.
- Arrange rosemary, thyme, and olives decoratively on top, pressing them lightly into the dough.
- Drizzle with olive oil and sprinkle with sea salt flakes.
- Bake for 20–25 minutes or until golden brown and cooked through.
- Remove from oven and cool slightly before slicing and serving.
Notes
For extra flavor, serve the focaccia warm with a side of roasted garlic-infused olive oil for dipping.