You know those moments when a simple dessert turns into a family favorite? That’s exactly what happened the first time I made my Cheesecake Slab. It started as a last-minute request from my youngest, who was craving something creamy and sweet but without a lot of fuss. I whipped up this Cheesecake Slab with a crumb crust cheesecake base and a smooth cream cheese dessert top, and from that day on, it became our go-to treat. The joy of seeing their faces light up as we gathered around the table reminded me why I love recipes that bring everyone together.
What I love most about this Cheesecake Slab is how it’s perfect for just about any occasion. Whether it’s a busy weeknight craving some comfort or a casual celebration, this no-bake cheesecake slab fits right in. It’s chilled cheesecake squares served in a large pan that’s easy to slice and share. The best part? It stays fresh and ready in the fridge for those spontaneous dessert cravings or when friends pop over.
Over time, I’ve learned a few kitchen tips that make my Cheesecake Slab especially smooth and creamy. Now, I make it with confidence, knowing it will come out just right and invite the whole family back for seconds. If you’re looking for an easy, delicious way to make your dessert table a little brighter, this Cheesecake Slab is a recipe you’ll want in your rotation too. Give it a try, and watch your family gather around that dessert plate just like mine does.
What You’ll Need
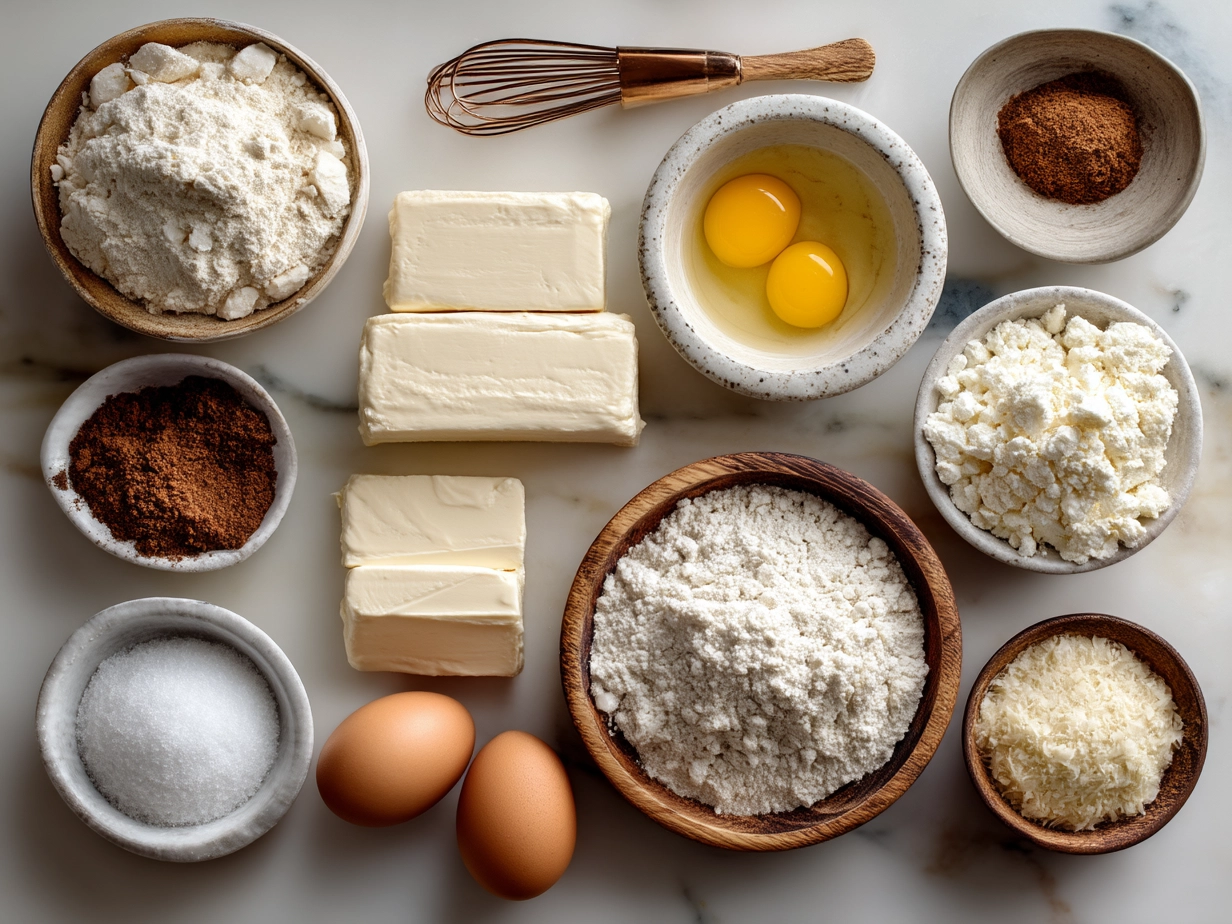
Here’s the simple list for making your Cheesecake Slab at home. Trust me, this Cheesecake Slab ingredient list keeps things simple without sacrificing flavor!
For the Crumb Crust:
- 2 ½ cups graham cracker crumbs (about 20 full sheets, finely crushed)
- ⅓ cup granulated sugar
- 1 stick (½ cup) unsalted butter, melted
For the Cream Cheese Dessert Filling:
- 24 ounces cream cheese, softened (use full-fat for best texture)
- 1 cup powdered sugar
- 2 teaspoons vanilla extract
- 1 cup heavy whipping cream, chilled
For the best Cheesecake Slab, I recommend using cream cheese that’s at room temperature before you start. It helps everything mix smoothly without lumps. You’ll find everything for this Cheesecake Slab at your regular grocery store — graham crackers and cream cheese are pantry staples for many families.
If you need a substitution, this Cheesecake Slab is forgiving. You can swap the graham cracker crumbs for crushed digestive biscuits or even animal crackers. For a lighter option, try reduced-fat cream cheese, though keep in mind the texture might be a tad less creamy.
My family prefers when I use heavy cream over whipped topping—it gives the cheesecake filling a rich and velvety feel that everyone loves. Also, using powdered sugar instead of granulated sugar keeps the filling silky smooth, so don’t swap that one out.
When preparing your crumb crust, melt the butter first and mix it into the crumbs thoroughly. This crumb crust cheesecake base helps the crust set firmly and keeps your Cheesecake Slab from crumbling when you slice it.
How to Make It
Here’s how I make my Cheesecake Slab step-by-step. It typically takes me about 30 minutes plus chilling time, and it’s totally worth the wait!
- Make the Crust: In a medium bowl, mix the graham cracker crumbs, sugar, and melted butter until all crumbs are coated. Press this crumb crust cheesecake base firmly into a 9×13-inch baking dish. Use the back of a measuring cup to pack it down evenly. This sets the foundation for your Cheesecake Slab.
- Chill the Crust: Pop your crust in the fridge for about 10-15 minutes while you prepare the filling. Chilling helps it firm up, so your Cheesecake Slab holds together nicely when you slice it.
- Prepare the Filling: In a large bowl, beat the softened cream cheese until smooth using a hand mixer or stand mixer. Add powdered sugar and vanilla and keep beating. Your cream cheese dessert layer will start looking silky.
- Whip the Cream: In a separate bowl, whip the heavy cream until stiff peaks form. Gently fold the whipped cream into the cream cheese mixture, being careful not to deflate the air you just whipped in. This step gives your Cheesecake Slab that light, creamy texture.
- Assemble the Cheesecake Slab: Spread the cream cheese filling evenly over the chilled crumb crust. Smooth the top with a spatula so it looks even and inviting.
- Chill for Set-Up: Cover with plastic wrap and refrigerate for at least 4 hours, preferably overnight. You’ll know your Cheesecake Slab is ready when the filling is firm to the touch but still creamy.
Your kitchen will smell amazing while this Cheesecake Slab sits in the fridge, and the anticipation builds. Don’t worry if your crumb crust looks like it’s a little crumbly when slicing — a sharp knife dipped in hot water helps get clean edges and perfect chilled cheesecake squares.
Here’s where I used to mess up my Cheesecake Slab—rushing the chilling time. Giving it the full hours in the fridge makes all the difference for easy slicing and taste. While your Cheesecake Slab chills, you have time to clear up the kitchen or prepare coffee for dessert time.
If you want to add layers or toppings, try sprinkling crushed candy bars for a candy bar cheesecake slices twist. You might enjoy seeing how layering flavors works, like lemon or blueberry cheesecake slabs from other favorites on MomsGate.
Serving Ideas
This Cheesecake Slab is a family favorite anytime, but it shines at weekend get-togethers and birthday celebrations. Everyone reaches for seconds when this Cheesecake Slab comes out with its creamy filling and crisp crumb crust.
I usually slice it into chilled cheesecake squares that are perfectly portioned for family members and guests. Serve it plain or dress it up with fresh fruit, chocolate shavings, or a drizzle of berry sauce.
This crumb crust cheesecake holds up perfectly for picnic desserts or potluck parties, making it easy to transport and share. It’s also a great make-ahead option—store leftovers tightly wrapped, and they stay fresh in the refrigerator for several days.
If you like experimenting, try layering your Cheesecake Slab with fruit compote or crushed cookies on top for a layered dessert bars twist. It keeps mealtime interesting and gets lots of praise from the family.
From casual dinners to festive occasions, this no-bake cheesecake slab brings smiles and happy forks. If your family loves this, they’ll also enjoy lemon marbled cheesecake bars or brown butter cheesecake from MomsGate. You can find those delicious ideas right here.
Your Questions Answered
Can I make this Cheesecake Slab ahead of time?
Absolutely. This no-bake cheesecake slab needs at least 4 hours to set best, but I usually make it the day before. It tastes even better after resting overnight—perfect for busy weeknights or special meals.
What if I don’t have graham crackers for the crust?
You can substitute with digestive biscuits, vanilla wafers, or even crushed pretzels if you want a salty-sweet combo. I once tried a crumb crust cheesecake with crushed ginger snaps for a spicier flavor.
How do I store leftover Cheesecake Slab?
Keep it covered in the fridge. I use a large cake container or wrap it tightly with plastic wrap. It stays fresh for at least 3-4 days this way.
Can I freeze the Cheesecake Slab?
Yes! Wrap it tightly, then thaw in the fridge overnight before serving to keep the creamy texture intact.
Why did my cheesecake crack after baking?
This recipe is a no-bake cheesecake slab, so cracking isn’t an issue here. But if you try baking a cheesecake, cracking can be from overbaking or sudden temperature changes. There’s a good discussion on why cheesecakes crack after baking over on Facebook.
Can I add flavors to the filling?
Definitely. Adding lemon zest, cocoa powder, or even crushed berries to your cream cheese dessert layer works nicely. For more inspiration, check out these easy lemon cheesecake bars.
How do I get a smooth filling?
Make sure your cream cheese is soft before mixing. Beat it well to prevent lumps and fold the whipped cream gently to keep it airy and smooth.
The Final Word
This Cheesecake Slab has earned its spot in my recipe collection because it’s simple, unpretentious, and always a crowd-pleaser. My family loves the classic crumb crust cheesecake version, but I also enjoy red velvet and chocolate swirl variations.
My Cheesecake Slab Tips:
- Always soften cream cheese before mixing for a smooth base.
- Chill the crust well for easy slicing.
- Use a hot, clean knife for perfect cheesecake slabs every time.
My husband favors the candy bar cheesecake slices style, while my kids enjoy it plain with fresh fruit on top. I’ve included links here for more treats like blueberry cheesecake protein bites and brown butter cheesecake, so you can keep those family smiles coming.
I hope you make this Cheesecake Slab your own and find as much joy serving it as I do. Gather your loved ones, slice up some chilled cheesecake squares, and savor the simple pleasures of a homemade dessert everyone reaches for.
For more dessert ideas and baking tips that bring families to the table, feel free to visit MomsGate often. You and your family deserve moments like these.
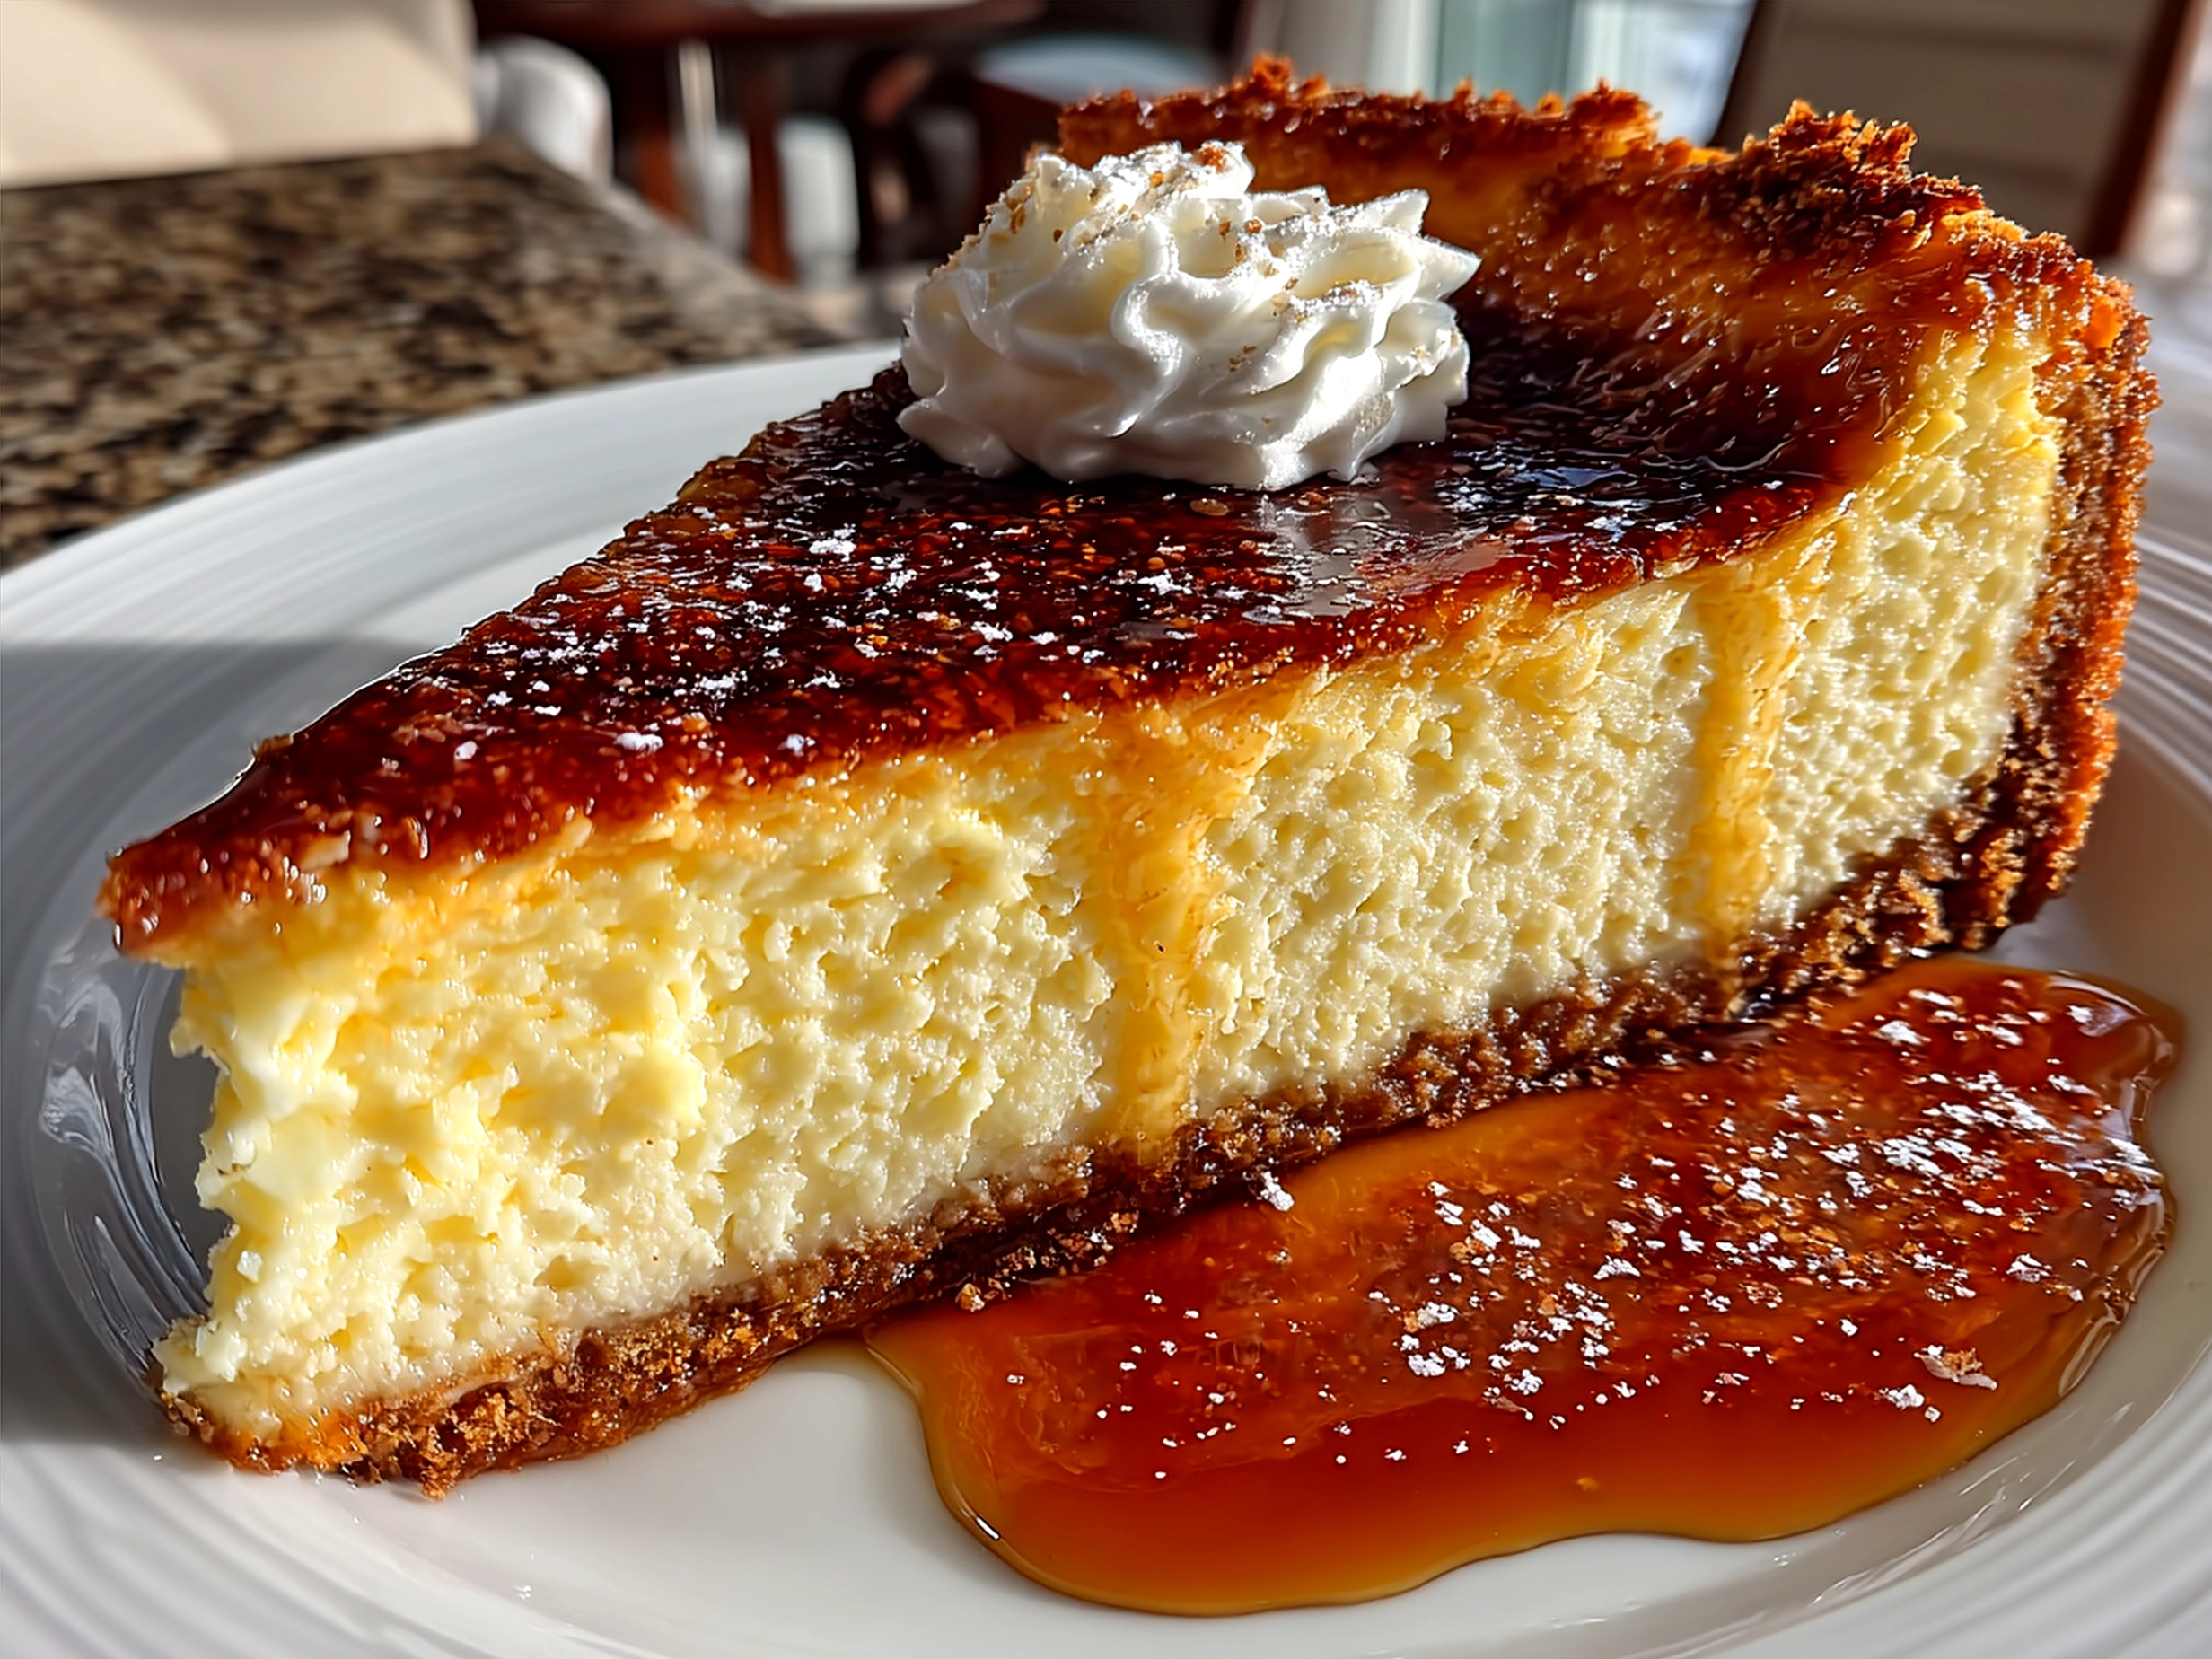
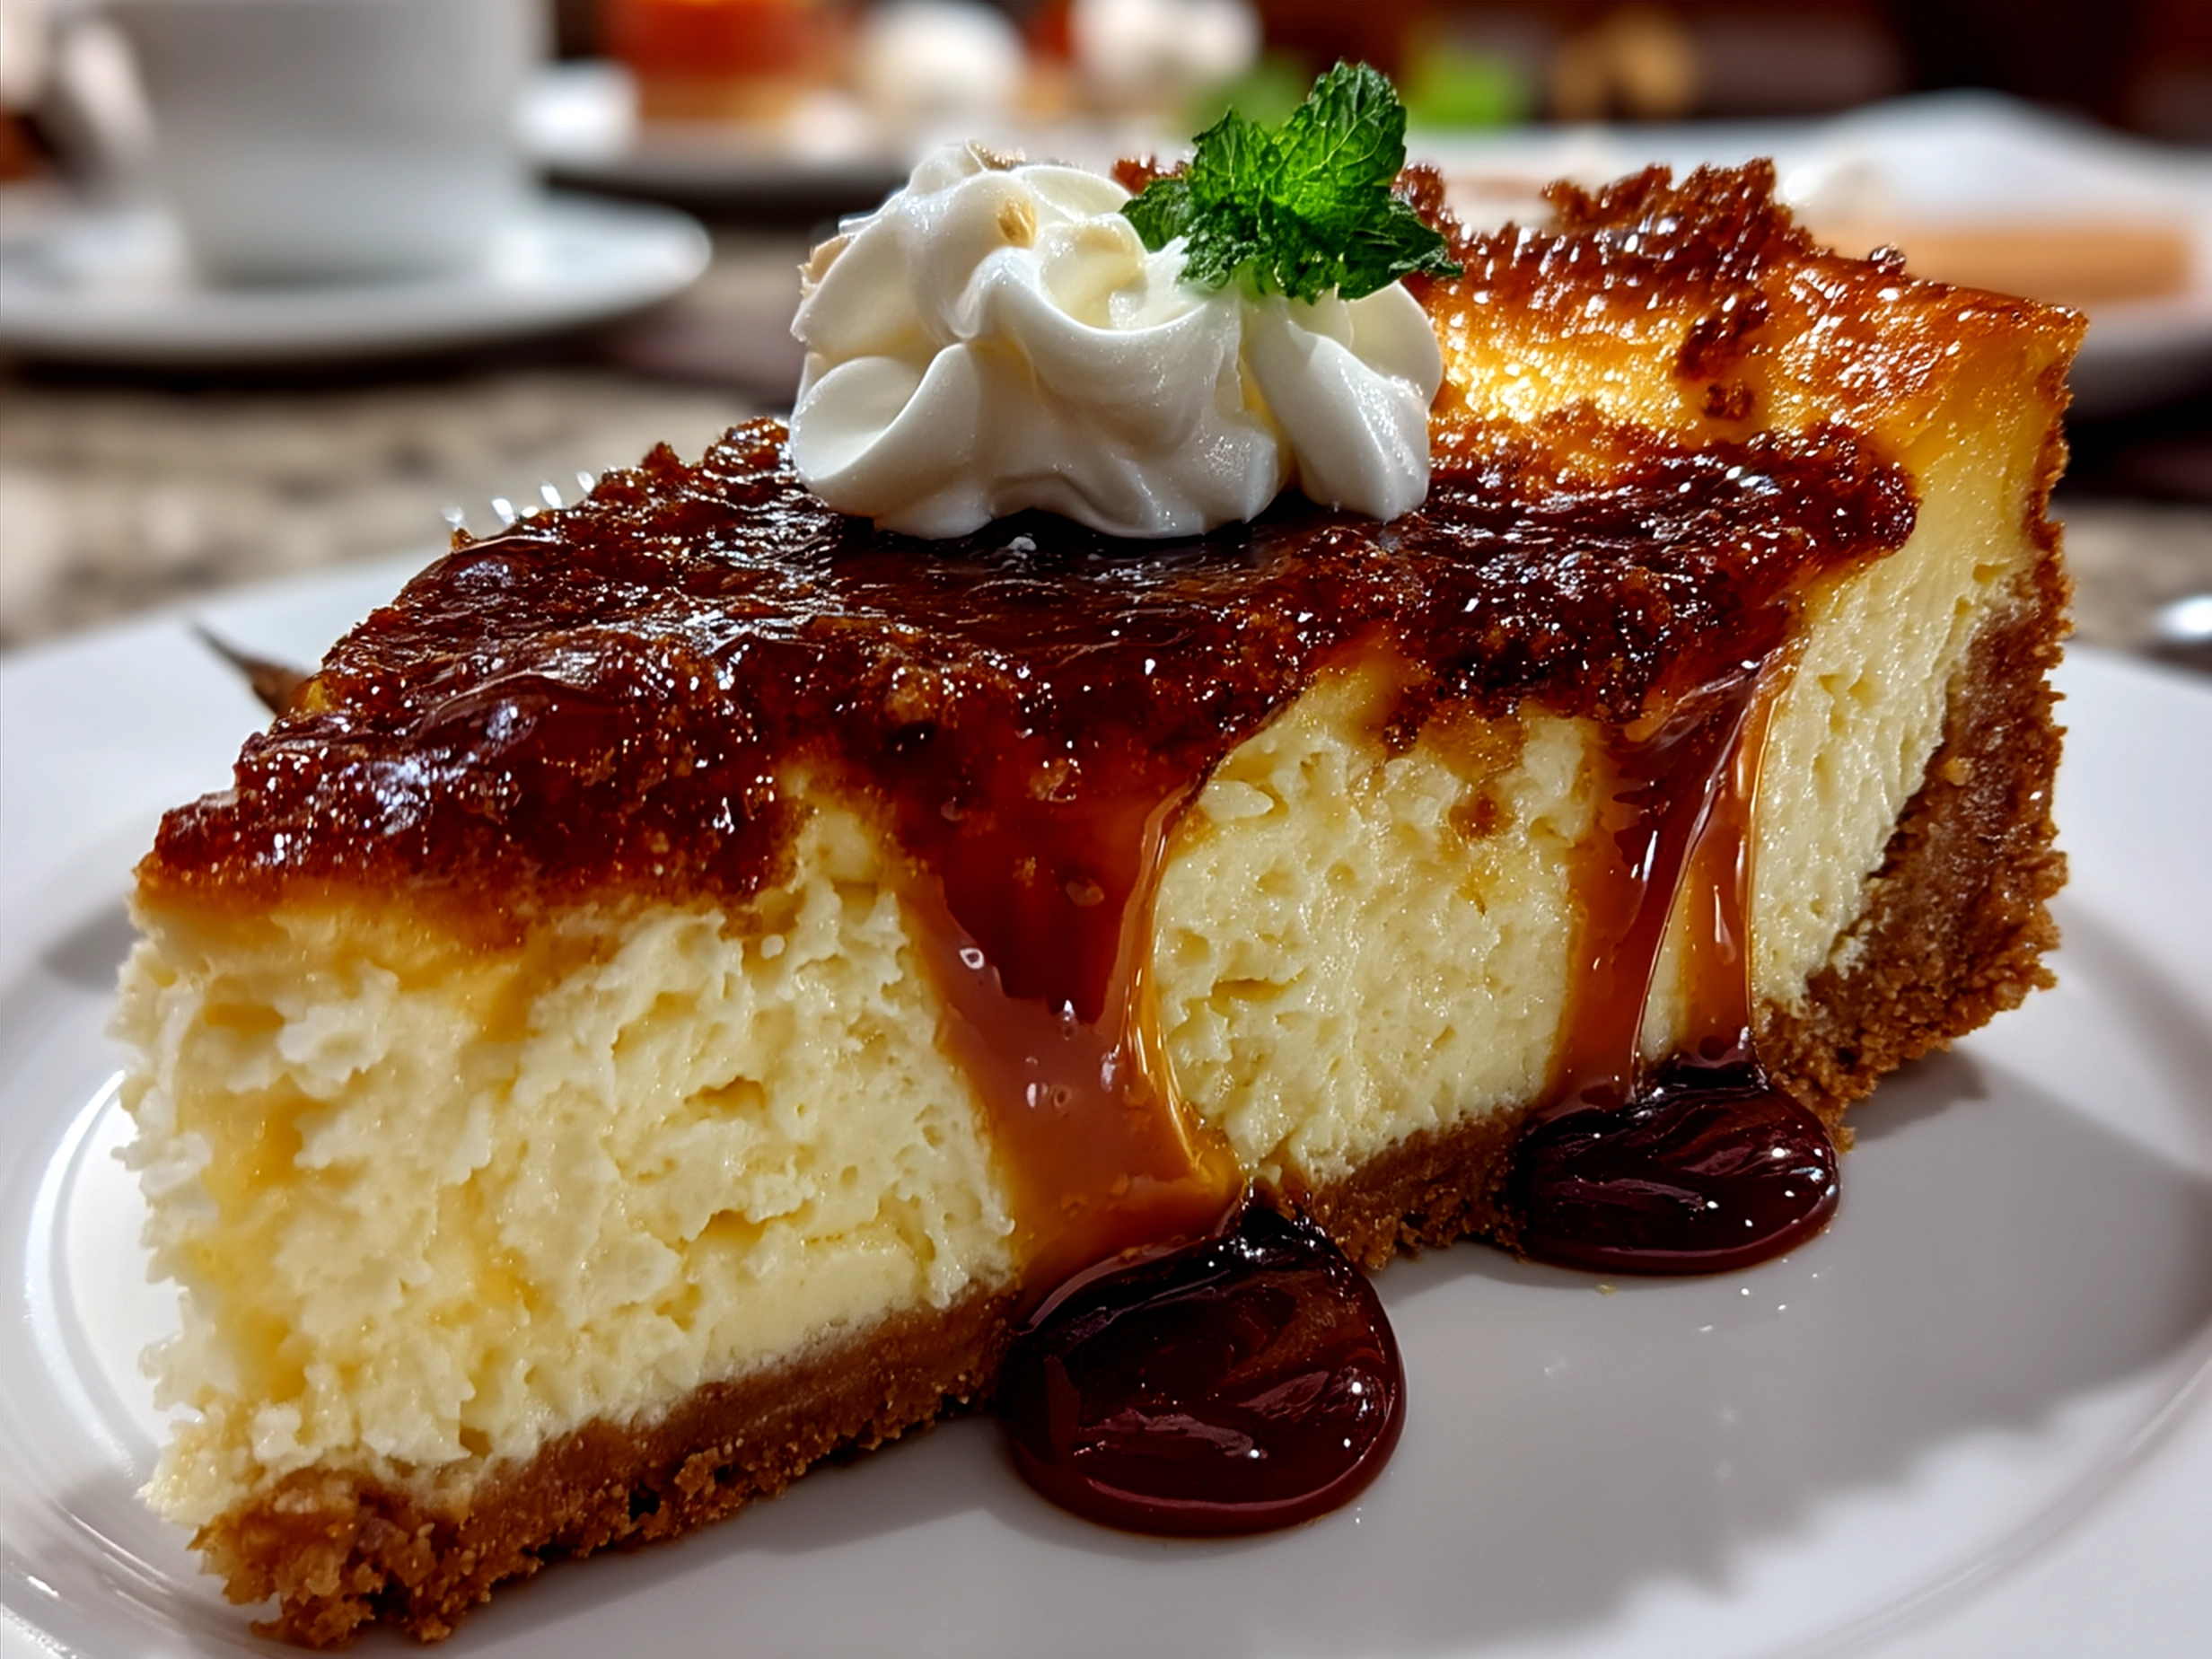
Cheesecake Slab
This creamy and rich Cheesecake Slab offers a decadent dessert experience with a smooth cream cheese filling on a buttery graham cracker crust, perfect for sharing at any occasion.
- Prep Time: 20 minutes
- Cook Time: 50 minutes
- Total Time: 5 hours 10 minutes
- Yield: 12 servings
- Category: Dessert
- Method: Baked
- Cuisine: American
Ingredients
- 2 cups graham cracker crumbs
- 1/2 cup unsalted butter, melted
- 24 oz (675g) cream cheese, softened
- 1 cup granulated sugar
- 3 large eggs
- 1 teaspoon vanilla extract
- 1/2 cup sour cream
- 2 tablespoons all-purpose flour
- Pinch of salt
Instructions
- Preheat oven to 325°F (163°C). Line a 9×13 inch baking pan with parchment paper, leaving an overhang for easy removal.
- In a bowl, combine graham cracker crumbs and melted butter. Press evenly into the bottom of the prepared pan to form the crust.
- In a large mixing bowl, beat cream cheese until smooth and creamy.
- Add sugar and continue to beat until well combined.
- Mix in eggs one at a time, fully incorporating each before adding the next.
- Stir in vanilla extract, sour cream, flour, and salt until the batter is smooth and uniform.
- Pour the cream cheese batter over the crust and spread evenly.
- Bake for 45-50 minutes or until the edges are set and the center slightly jiggles.
- Turn off the oven and leave the cheesecake inside with the door slightly ajar for 1 hour to prevent cracking.
- Remove from oven and chill in the refrigerator for at least 4 hours or overnight before slicing into slab pieces.
Notes
For extra flavor, top with fresh berries or a drizzle of fruit compote before serving. Allow the cheesecake to reach room temperature for the best creamy texture.