
When my daughter asked for No-Bake Cool Whip Candy last holiday season, I wasn’t expecting it to become such a household hit. She’d heard about it from a friend and was curious because it sounded like an easy no-bake dessert that didn’t require a ton of fuss—perfect for our busy life. We whipped it up one afternoon, and the whole family was hooked from the first bite. That moment reminded me how important it is to keep simple treats like this in our rotation, especially ones that bring everyone together around the table.
No-Bake Cool Whip Candy has become one of those recipes that feels special without demanding hours in the kitchen. It fits perfectly when we need a quick homemade candy that everyone enjoys without the stress of baking or complicated steps. I love how this easy no-bake dessert offers a cool, creamy texture that pairs beautifully with chocolate, making it a crowd-pleaser at family gatherings or even quiet weeknights.
What really sticks with me about this No-Bake Cool Whip Candy is how it sparks conversation and smiles. Watching my kids excitedly share this treat with friends or asking for seconds creates sweet memories. If you’re looking for no-bake candy recipes that still taste homemade and heartfelt, this is one to try. It’s reliable, forgiving, and honestly, a fun way to include kids in making dessert without the mess of the oven.
If you want a recipe that adds a little warmth to your family meals, No-Bake Cool Whip Candy is a great choice. I’ll walk you through what you need and how simple it is to pull together this no-bake treat with Cool Whip. Keep reading for tips that make this recipe a weeknight winner or a festive favorite. For more inspiration, you might like this Christmas Cool Whip Candy recipe on MomsGate or other quick homemade candies like the Magic Candy Recipe and Pineapple Cowboy Candy—they all share that no-bake charm.
What You’ll Need
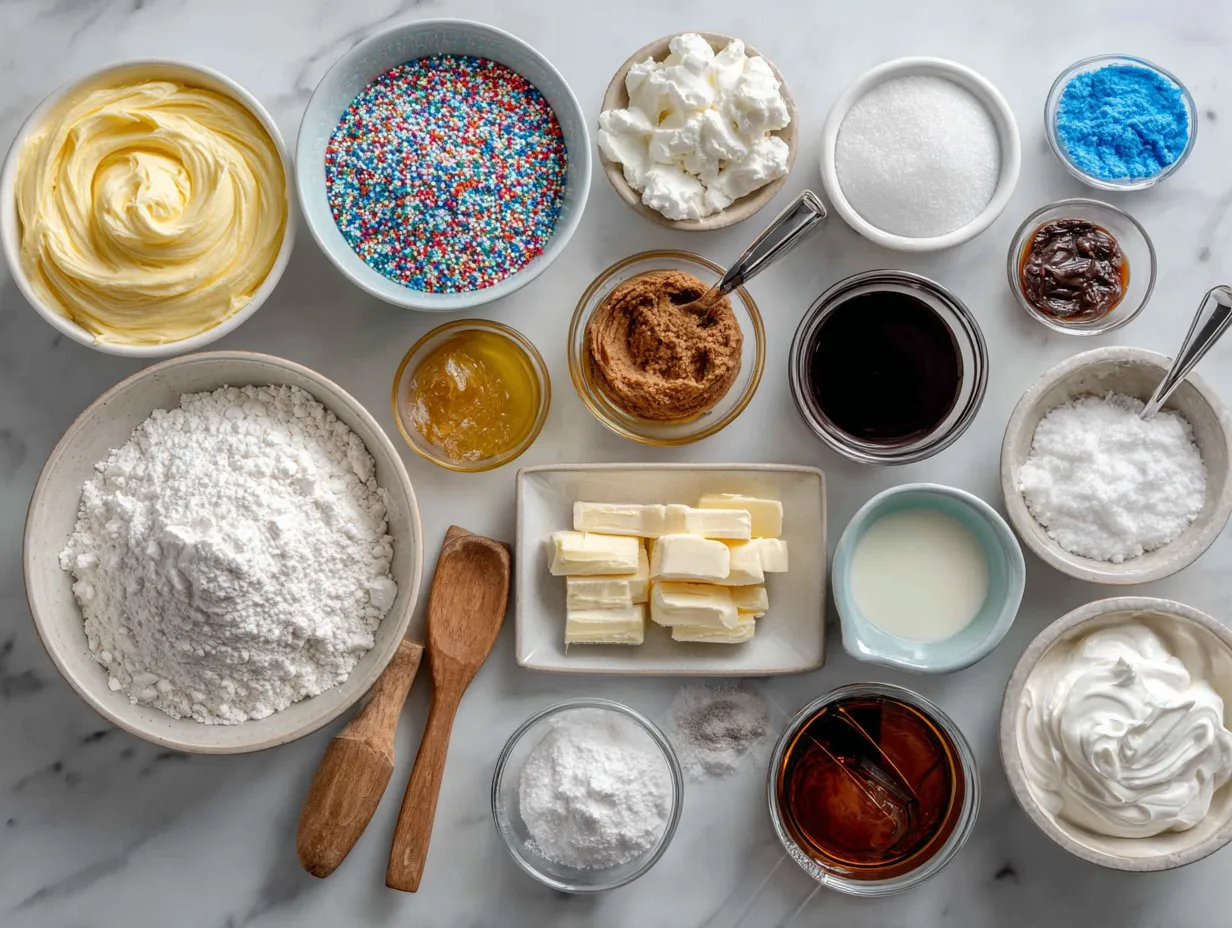
For No-Bake Cool Whip Candy, you won’t need a lot of ingredients, but choosing good-quality ones really lifts the final flavor. Here’s my trusted ingredient list that keeps this recipe simple yet delicious:
- 1 cup semi-sweet chocolate chips – I like to use around 60% cacao for the perfect balance of rich and sweet.
- 1/2 cup creamy peanut butter (natural or regular) – My family prefers natural peanut butter with no extra sugar, but smooth or chunky both work.
- 8 oz Cool Whip (thawed) – The secret to that light, fluffy texture. You’ll find this in the frozen aisle at most grocery stores, and it’s crucial for the “no-bake” magic.
- 1 1/2 cups powdered sugar – For sweetness and structure.
- 1 teaspoon vanilla extract – Adds depth and warmth.
- Optional: 1/2 cup chopped nuts or mini chocolate chips – To mix into the candy or sprinkle on top for some crunch.
For the best No-Bake Cool Whip Candy, I recommend using freshly thawed Cool Whip that is still cold but soft enough to fold easily. That dip in texture is what gives the candy its creamy bite while holding everything together. You don’t want it melted or warm though; that can make the mixture too runny.
Shopping tip: you’ll find everything for this No-Bake Cool Whip Candy at a regular grocery store in one trip. Cool Whip is often right next to other frozen dessert toppings. If peanut butter isn’t your family’s favorite, this recipe is forgiving—you can swap it for almond butter or even sunflower seed butter with good results.
Before mixing, set your peanut butter out at room temperature if it’s thick or refrigerated so it blends smoothly. Also, sift the powdered sugar to prevent clumps—a small prep step that makes your No-Bake Cool Whip Candy’s texture smoother. Keep in mind that those little details saved me from clumpy batches the first time I made this recipe!
How to Make It
Making No-Bake Cool Whip Candy feels like a breeze once you have the right steps down—I’ll walk you through each one, so it’s as easy as pie.
1. Melt the Chocolate and Peanut Butter
In a microwave-safe bowl, combine the chocolate chips and peanut butter. Heat in 30-second intervals, stirring in between until smooth and glossy. This is where I used to overheat the mixture and end up with grainy chocolate. Now, I always heat gently and stir well to get that silky mix perfect for folding in Cool Whip.
2. Let the Mixture Cool Slightly
Once melted, give the bowl a few minutes to cool, so the chocolate-peanut butter mix isn’t hot. This step is important because if it’s too warm, it can melt your Cool Whip on contact, leading to a runny texture instead of the delightfully creamy No-Bake Cool Whip Candy you want.
3. Fold in the Cool Whip
Add the thawed Cool Whip and vanilla extract to the chocolate mixture. Use a spatula to fold gently but thoroughly. Folding keeps the airiness in the Cool Whip while mixing it evenly with the chocolate-peanut butter blend. This is key to the candy’s light feel.
4. Add Powdered Sugar
Sift in the powdered sugar gradually. I usually add about half first, fold it in, then add the rest. This slow addition prevents your mixture from getting too stiff or sugary right away. By the time all the sugar is in, your No-Bake Cool Whip Candy will be thick but still spreadable.
5. Mix in Optional Crunch
If you like extra texture, fold in chopped nuts or mini chocolate chips now. My family loves a bit of crunch to balance the smooth creaminess.
6. Transfer to a Pan and Chill
Pour the mixture into a wax-paper-lined 8×8 inch pan. Smooth the top with a spatula, cover it, and refrigerate for at least 3 hours or until firm. Patience is the hardest part here, but your patience pays off with every creamy bite of this cool no-bake treat.
7. Cut and Serve
After chilling, lift the candy out using the wax paper, cut it into squares, and serve. You’ll know your No-Bake Cool Whip Candy is ready when it holds clean shapes and slices easily without crumbling.
A quick tip: if your candy looks a little soft after chilling, simply pop it back in the fridge, and it will firm up nicely. While your No-Bake Cool Whip Candy is chilling, you can prepare coffee or set the table for your family dessert moment. The process is quite forgiving and perfect for busy cooks wanting quick homemade candies without stress.
For more no-bake candy recipes with that creamy Cool Whip charm, check out these easy Cool Whip Candy recipes like this one shared on Lifestyle of a Foodie or the detailed Cool Whip Candy {3 Musketeers} on Shugary Sweets.
Serving Ideas
No-Bake Cool Whip Candy is one of those easy no-bake desserts that my family reaches for whenever they want something satisfying and sweet with minimal fuss. We love serving this with a hot cup of tea or after a casual dinner. The creamy, chocolate-peanut buttery flavor feels indulgent but not overpowering.
This candy is perfect for holiday gatherings, birthday parties, or even as a quick sweet treat after midweek meals. It’s a crowd-pleaser because it looks fancy enough to feel like a treat but comes together so easily that I can make it last minute.
Presentation-wise, I like to dust the top with a bit of cocoa powder or sprinkle extra mini chocolate chips for a pop of color and texture. For dessert trays, cutting the candy into bite-sized squares works great—everyone loves finger food!
If you do end up with leftovers, keep them stored in an airtight container in the fridge. They maintain their creamy texture for up to a week, which is a helpful tip for busy families who want quick snacks ready to go. Sometimes I’ve tried adding different mix-ins like crushed peppermint or shredded coconut to switch up the flavor, and those no-bake treats with Cool Whip still get rave reviews.
If your family loves this No-Bake Cool Whip Candy, they might also enjoy related ideas like the Christmas Cool Whip Candy from MomsGate or try the Magic Candy Recipe and Pineapple Cowboy Candy for other fun quick homemade candies. These recipes share that special ease and taste that make kitchen life sweeter.
Your Questions Answered
Can I make this No-Bake Cool Whip Candy ahead of time?
Absolutely! This is a fantastic make-ahead treat since it needs to chill for a few hours. You can prepare it the day before your event or weeknight meal, and it stays fresh in the refrigerator for up to a week.
What if I don’t have peanut butter for my No-Bake Cool Whip Candy?
No worries at all. Almond butter or sunflower seed butter works nicely as substitutes. Your candy’s texture might shift a little depending on the choice, but it will still be delicious.
How do I store leftover No-Bake Cool Whip Candy?
Place the leftover candy in an airtight container and keep it refrigerated. It’s best enjoyed within a week for the freshest taste and texture.
Can I add other flavors to No-Bake Cool Whip Candy?
Yes! Vanilla is classic, but you can add a splash of almond extract or a pinch of cinnamon for a twist. Some cooks even stir in a bit of instant coffee powder for a mocha variation.
Is Cool Whip necessary, or can I substitute with whipped cream?
Cool Whip has stabilizers that help the candy hold its shape better than regular whipped cream. You can try homemade whipped cream, but the texture might be softer and less sturdy.
Can kids help make this No-Bake Cool Whip Candy?
Definitely! It’s one of the best no-bake treats with Cool Whip to involve kids in since no oven is required. Just supervise with the hot melted chocolate step.
What should I do if my candy mixture seems too runny?
If it’s not firming up, make sure the Cool Whip is cold but not melted before mixing. You can also add a little extra powdered sugar to tighten the texture.
Where can I find more recipes like this?
I recommend visiting MomsGate for delicious options like Christmas Cool Whip Candy, Magic Candy Recipe, and Pineapple Cowboy Candy. Plus, check out these No-Bake Cool Whip Candy Recipe posts on Facebook for community-tested tips.
The Final Word
No-Bake Cool Whip Candy holds a special place in my recipe lineup because it’s one of the few easy no-bake desserts that truly feels homemade and brings smiles from kids and adults alike. It’s simple to make, uses ingredients most families keep around, and comes together so quickly on busy days or celebrations.
My No-Bake Cool Whip Candy Tips:
- Always use freshly thawed Cool Whip for best texture.
- Melt chocolate and peanut butter carefully to avoid graininess.
- Be patient while chilling; this step makes all the difference.
I’ve tried variations like adding crushed peppermint for Christmas, swapping peanut butter with almond butter for a milder nutty flavor, and stirring in mini chocolate chips for extra crunch. My daughter prefers the original peanut butter version, while my husband loves the peppermint twist. This recipe is flexible enough to make your own.
I’m confident this No-Bake Cool Whip Candy will bring your family together and become one of your go-to no-bake treats with Cool Whip. Give it a try, and I hope it makes your kitchen moments as joyful as it has mine. For more quick homemade candies, explore the recipes linked above for plenty of inspiration to keep treats simple and tasty.

Enjoy every delicious bite!
No-Bake Cool Whip Candy

Delight in this easy, no-bake Cool Whip candy that combines creamy sweetness with a hint of chocolate for a quick and delicious treat.
- Prep Time: 15 minutes
- Cook Time: 0 minutes
- Total Time: 1 hour 15 minutes
- Yield: 24 servings
- Category: Dessert
- Method: No-Cook
- Cuisine: American
Ingredients
- 1 cup cream cheese, softened
- 1 cup powdered sugar
- 1 (8 oz) container Cool Whip, thawed
- 2 cups chocolate chips, melted
- 1 cup crushed graham crackers
- 1 teaspoon vanilla extract
Instructions
- In a large bowl, beat the softened cream cheese and powdered sugar until smooth.
- Fold in the thawed Cool Whip and vanilla extract gently until well combined.
- Stir in the crushed graham crackers evenly.
- Shape the mixture into small bite-sized balls and place them on a parchment-lined baking sheet.
- Freeze the balls for about 30 minutes to firm up.
- Dip each ball into the melted chocolate chips, coating completely, and return to the parchment paper.
- Refrigerate the candy balls until the chocolate is set, about 1 hour.
- Enjoy chilled as a sweet treat or dessert.
Notes
For an extra crunch, sprinkle chopped nuts over the chocolate coating before it sets.