I remember the first time my daughter asked me for No-Bake Red Velvet Snowball Truffles. It was right before the holidays, and she had spotted a festive dessert at a friend’s house. She came home, eyes bright, begging me to make them for our family dinner. I was honestly a bit nervous because I hadn’t tried working with cream cheese truffles before, especially no-bake dessert balls that needed a perfect balance of flavor and texture.
After that first batch, the reaction around our dinner table surprised me. The truffles disappeared almost immediately, with everyone raving about how soft, creamy, and delicious these little snowballs were. It wasn’t just a treat—it became a moment where the whole family gathered together, chatting and laughing over bites of sweet red velvet goodness wrapped in creamy perfection.
Now, No-Bake Red Velvet Snowball Truffles are a staple in our meal rotations, especially during busy weeks and holidays. I love how easy these cream cheese truffles come together with minimal fuss, but they still feel special enough to serve when we have guests or want to make everyday moments feel a bit more festive.
If you’ve ever wanted a dessert that delivers both flavor and simplicity, this snowball truffle recipe is for you. It’s one of those easy holiday treats that works every time, making your kitchen smell wonderful and your family smile with every bite. I’m excited for you to try my version and see how it can bring your family closer around the table.
What You’ll Need
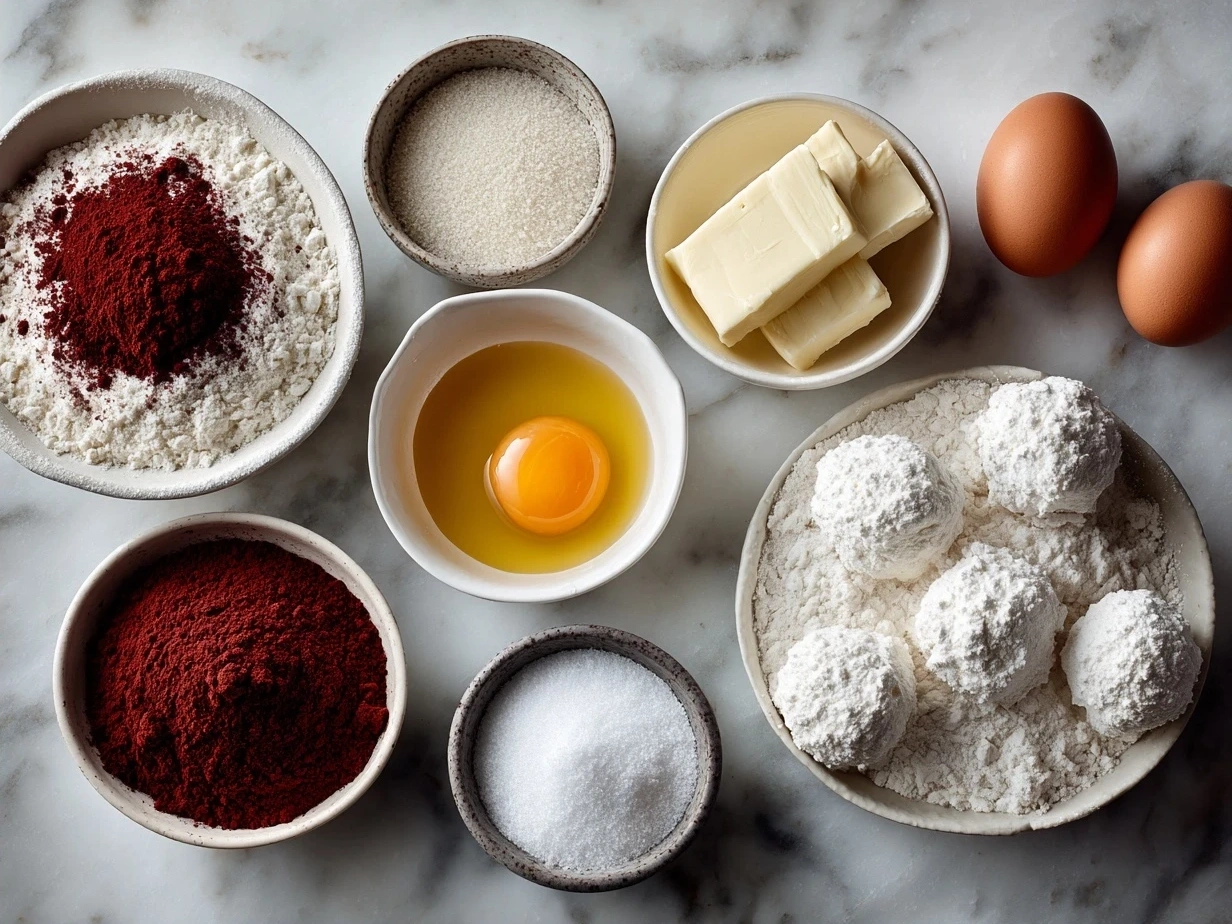
For making these No-Bake Red Velvet Snowball Truffles, here’s my go-to ingredient list that keeps things simple without sacrificing that rich, classic red velvet flavor:
- 8 ounces cream cheese, softened – Choose full-fat for creamier truffles. My family prefers this as it gives the best texture.
- 2 cups red velvet cake crumbs – You can use homemade red velvet cake or store-bought; both work well. For best results, I use fresh crumbs for a moister truffle.
- 1 teaspoon vanilla extract – This adds depth to your cream cheese truffles.
- 1 cup powdered sugar – Sifted to avoid lumps in your no-bake dessert balls.
- 1/2 cup white chocolate chips, melted – These help bind and add sweetness.
- Extra powdered sugar for rolling – This gives the signature snowball look and a nice powdery finish.
You’ll find everything for this No-Bake Red Velvet Snowball Truffles at your regular grocery store in the baking aisle and dairy section. Look for quality cream cheese and fresh cake crumbs or make your own if you have time.
This snowball truffle recipe is forgiving if you need to swap a few things. For example, if you prefer, you can replace the white chocolate chips with white candy melts or use store-bought red velvet cake mix to speed things up. For a slight twist, adding a pinch of cinnamon or cocoa powder to the crumbs adds a little extra warmth without overpowering the red velvet flavor.
A quick tip before you start: Let your cream cheese come to room temperature before mixing. It makes blending easier and your No-Bake Red Velvet Snowball Truffles smoother. Also, use a medium bowl so you can mix comfortably without making a mess.
Trust me, this No-Bake Red Velvet Snowball Truffles ingredient list keeps things simple and doable. You’ll be assembling dessert balls in no time, and your family will be asking for more!
How to Make It
Making these No-Bake Red Velvet Snowball Truffles is straightforward and perfect for busy home cooks who want a fuss-free dessert that tastes special.
- Start by beating your softened cream cheese in a mixing bowl until smooth and creamy. This step is key for that silky texture everyone loves in cream cheese truffles.
- Gradually add in your powdered sugar while mixing slowly. This helps avoid a powder cloud and ensures the sugar blends evenly with the cream cheese.
- Stir in the vanilla extract next. It might seem small, but it adds a lovely background note to your no-bake dessert balls.
- Fold in the red velvet cake crumbs gently. You’ll want the mixture to be moist but firm enough to hold its shape when rolled. Your No-Bake Red Velvet Snowball Truffles mixture should feel like thick dough.
- If it feels too sticky, pop the mixture in the fridge for 15 minutes to firm up. This step helps as rolling soft mixtures can be tricky otherwise.
- Once ready, scoop out about a tablespoon’s worth of the mixture and roll it into balls with your hands. Don’t worry if they look a little rough—your family won’t mind one bit!
- Melt the white chocolate chips in a microwave-safe bowl, heating in 30-second intervals and stirring until smooth. This usually takes about 1-2 minutes total.
- Dip each red velvet truffle into the melted white chocolate to coat it lightly, then place them on wax paper to set.
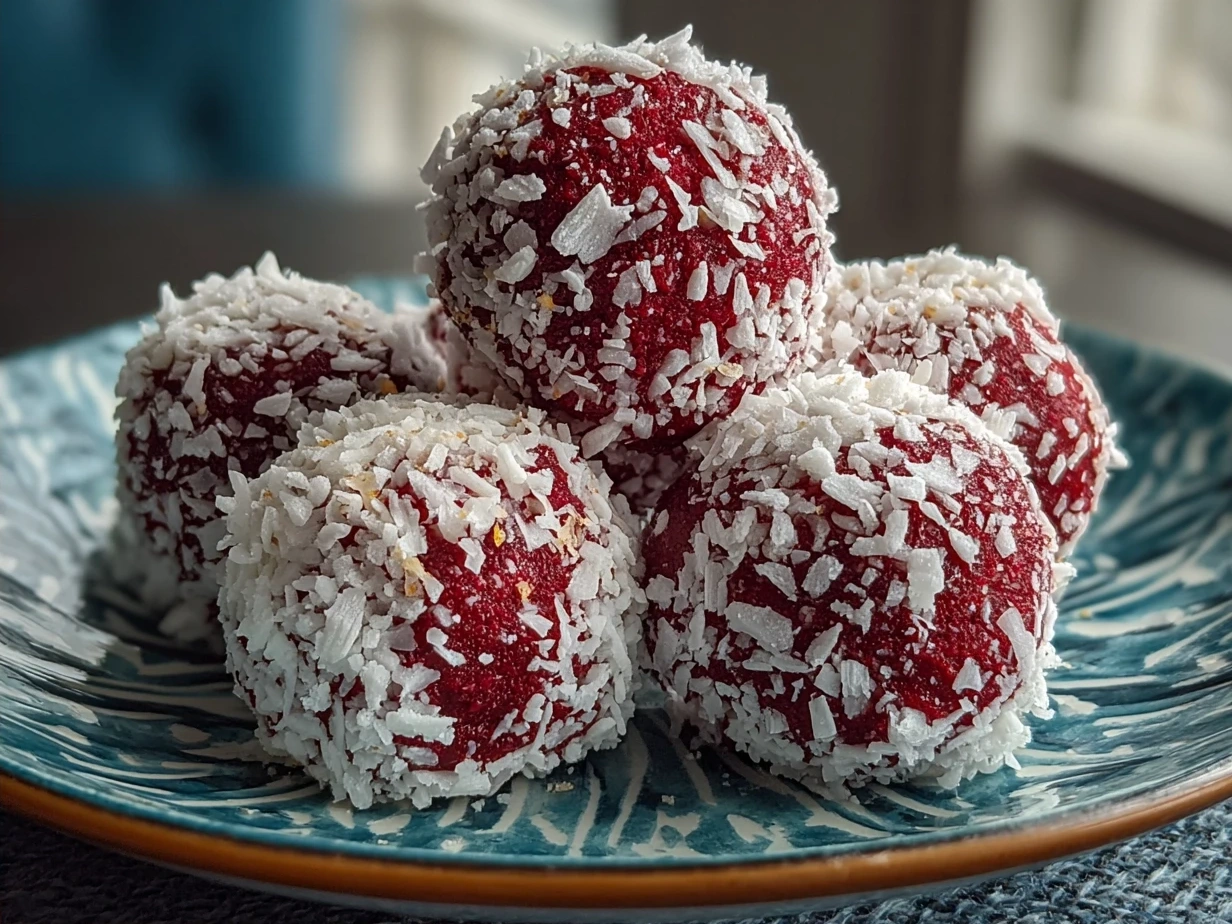
- While still tacky, gently roll the truffles in powdered sugar to get that snowball effect. You’ll know your No-Bake Red Velvet Snowball Truffles are ready when they have a soft, velvety exterior dusted with white sugar.
- Chill them in the fridge for at least an hour before serving. This lets the flavors meld and the coating set perfectly.
This No-Bake Red Velvet Snowball Truffles typically takes me about 30 to 40 minutes from start to finish, including chilling time. While your No-Bake Red Velvet Snowball Truffles are chilling, you can tidy up the kitchen or prepare the rest of your meal.
Here’s where I used to mess up my No-Bake Red Velvet Snowball Truffles: rushing the chilling step. Taking the time to let them set makes a big difference in taste and texture. And if your mixture seems crumbly at first, mixing in a splash of milk helps without making things sticky.
If you want even simpler options, check out this delicious No-Bake Cool Whip Candy recipe. It’s another easy holiday treat perfect for busy schedules.
Serving Ideas
Our family loves having No-Bake Red Velvet Snowball Truffles after dinner or as a sweet snack during holiday gatherings. These cream cheese truffles are crowd-pleasers for all ages and fit perfectly on a dessert tray alongside cookies or a hot cup of cocoa.
They pair nicely with a light whipped cream or fresh berries to balance the richness. For family celebrations or casual get-togethers, these no-bake dessert balls shine because they require no oven time, freeing up your kitchen for other dishes.
Presentation wise, serving the No-Bake Red Velvet Snowball Truffles in a pretty bowl or on a festive plate adds a nice touch. Sprinkling a few edible glitter flakes or extra powdered sugar over the top makes them look special without extra work.
Leftovers, if you have any, keep well in an airtight container chilled in the refrigerator for up to five days. They maintain their softness and flavor, perfect for afternoon snacks or unexpected guests.
If you’re looking to mix things up, try adding a hint of peppermint extract or swirling in a little melted dark chocolate before chilling. Both give this snowball truffle recipe a fresh twist that has won compliments from my husband and kids alike.
For more inspiration on no-bake desserts that bring smiles, don’t miss this collection of easy holiday treats. It’s full of practical ideas like this No-Bake Red Velvet Snowball Truffles.
Your Questions Answered
Here are some common questions I hear from home cooks about No-Bake Red Velvet Snowball Truffles, with answers that make this recipe easy to approach.
- Can I make this No-Bake Red Velvet Snowball Truffles ahead of time?
Yes! These truffles keep well in the refrigerator for up to five days. I often make them a day or two in advance, which saves time on busy days. - What if I don’t have red velvet cake crumbs?
No worries. You can make your own by baking a red velvet cake or cupcakes ahead of time and crumbling them finely. Alternatively, some stores sell pre-made crumbs in the bakery section. - How do I store leftover No-Bake Red Velvet Snowball Truffles?
Keep them in an airtight container in the fridge. They hold up well without drying out thanks to the cream cheese base. - Can I freeze these cream cheese truffles?
Yes, they freeze beautifully. Place them on a baking sheet to freeze individually, then transfer to a freezer bag. Thaw in the refrigerator before serving. - Can I use another type of frosting or crumb for these no-bake dessert balls?
You can try with chocolate cake crumbs or even spice cake, but expect the flavor to vary. The red velvet really makes this recipe special. - What’s the best way to melt white chocolate chips without burning them?
Heat in short intervals (20-30 seconds) in the microwave, stirring well in between. Using a double boiler works great too if you prefer. - My mixture feels too sticky to roll—what do I do?
Chill the mixture for 15-20 minutes to firm up. If still sticky, lightly oil your hands before rolling or dust with powdered sugar.
If your family loves this no-bake dessert ball recipe, they’ll appreciate other cozy recipes like Amish Hamburger Steak Bake or this great oven-baked snow crab legs dish for dinner after enjoying sweet treats.
The Final Word
No-Bake Red Velvet Snowball Truffles have earned a permanent spot in my recipe collection because they bring my family together and add sweet moments to our busy days. This snowball truffle recipe is approachable, forgiving, and turns out consistently delicious — a must-have for any home cook wanting to make dessert time feel special without stress.
My No-Bake Red Velvet Snowball Truffles Tips:
– Always soften your cream cheese well before starting for smooth blending.
– Don’t skip the chilling step; it makes rolling and coating easier.
– Use fresh cake crumbs for the best moist texture and flavor.
Over time, I’ve tried a few variations that worked beautifully. Peppermint extract added festive cheer for Christmas. Using dark chocolate instead of white chocolate coating gave a slightly richer bite, perfect for grown-ups. And sprinkling toasted coconut on top added a fun texture twist that my kids loved.
My family members each have favorites — my daughter prefers the traditional red velvet with powdered sugar, while my husband enjoys the chocolate-coated ones. It’s easy to tailor the snowball truffle recipe to suit all tastes in your household.
If you want a dessert that’s easy, delicious, and brings smiles to your dinner table, give No-Bake Red Velvet Snowball Truffles a try. I hope your family loves it as much as mine does and that it becomes a recipe you reach for again and again.
For more ideas on crowd-pleasing recipes like these cream cheese truffles, you might check out this list of 25 Christmas Ball and Truffle Recipes or join this friendly Facebook group sharing affordable Christmas treats.
Enjoy making memories with your family, one No-Bake Red Velvet Snowball Truffle at a time!
No-Bake Red Velvet Snowball Truffles

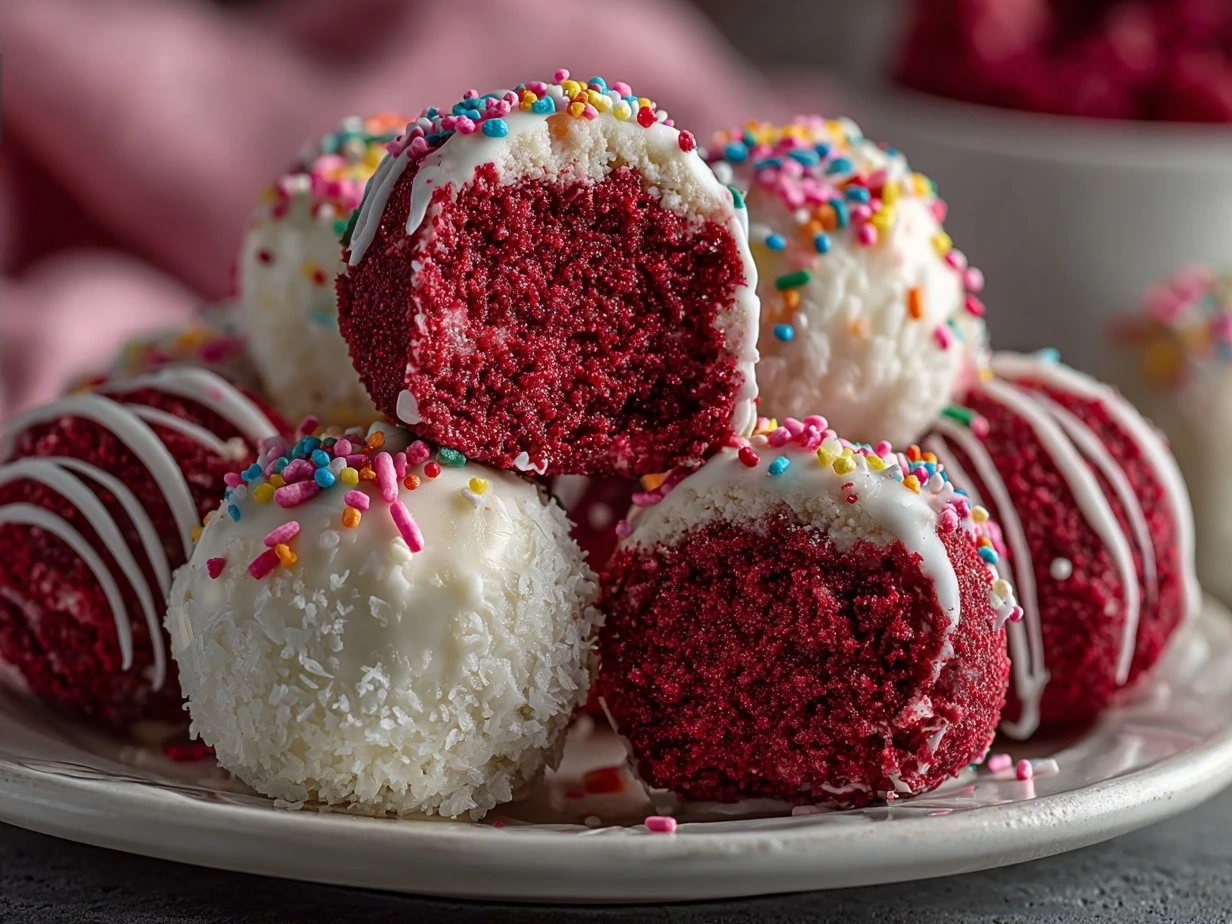
Delightfully rich and creamy, these No-Bake Red Velvet Snowball Truffles combine classic red velvet flavor with a smooth cream cheese coating for a perfect festive treat.
- Prep Time: 15 minutes
- Cook Time: 0 minutes
- Total Time: 1 hour 15 minutes
- Yield: 24 truffles
- Category: Dessert
- Method: No-Cook
- Cuisine: American
Ingredients
- 2 cups red velvet cake crumbs
- 4 oz cream cheese, softened
- 1 tsp vanilla extract
- 2 cups white chocolate chips
- 1/2 cup powdered sugar
- 1/4 tsp salt
- Extra powdered sugar for rolling
Instructions
- In a large bowl, combine the red velvet cake crumbs, softened cream cheese, vanilla extract, powdered sugar, and salt. Mix until a smooth dough forms.
- Roll the mixture into 1-inch balls and place them on a baking sheet lined with parchment paper.
- Freeze the balls for 30 minutes to firm up.
- Melt the white chocolate chips in a microwave-safe bowl in 30-second intervals, stirring until smooth.
- Dip each chilled ball into the melted white chocolate, ensuring it is fully coated, then place back on the parchment paper.
- Sprinkle extra powdered sugar over each truffle while the coating is still wet to create the snowball effect.
- Refrigerate the truffles for at least 1 hour until set before serving.
Notes
For an extra festive touch, add a sprinkle of edible red glitter or crushed peppermint on top before the coating sets.